
-
Welcome to Smashboards, the world's largest Super Smash Brothers community! Over 250,000 Smash Bros. fans from around the world have come to discuss these great games in over 19 million posts!
You are currently viewing our boards as a visitor. Click here to sign up right now and start on your path in the Smash community!
It appears that you are using ad block :'(
Hey, we get it. However this website is run by and for the community... and it needs ads in order to keep running.
Please disable your adblock on Smashboards, or go premium to hide all advertisements and this notice.
Alternatively, this ad may have just failed to load. Woops!
Please disable your adblock on Smashboards, or go premium to hide all advertisements and this notice.
Alternatively, this ad may have just failed to load. Woops!
Guide To Re-Spray Painting your controllers for melee(Updated 4/3/07)
- Thread starter RelaxImAProfessional
- Start date
r3d d09
Smash Master
I was just about to post the same thing. I just bought some extra stuff with the tri wing driver on ebay for 2.87 shipping included.
Popcornio
Smash Apprentice

It was originally black. I still think I could of done a better job on the clear coat at the end, but overall I think it came out nicely for a first timer.
For a future project, I was thinking of making a multi-color controller (making a purple controller into a yellow/black) with various designs but I don't know what I should do for little intricate work. Any suggestions?
r3d d09
Smash Master
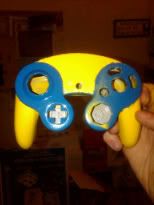
i will post mine. the picture is small. but you get the idea. there is yellow paint on the blue part. i know. someone tried to do a touch up and screwed up >.> i'm going to do a white controller with black the same design, as well as a black controller with white
Desh
Smash Ace
sweet, thanks for the tip about dealextreme, just bought me a bunch of ****. ")
r3d d09
Smash Master
thanks. it was my first one and i used auto engine paint... so basically the paint will stay on till like 600 degreeswhen i saw the blue and yellow one, i instantly thought wolverine
 haha
hahabut taping the thing off sucked hardcore. i have found out better ways to do it. i will post some tips for mods like mine later.
Drecker
Smash Ace
So fresh.
Edit: Originally black, four coats paint, four coats clearcoat.
Popcornio
Smash Apprentice
What would be the best tape to use for designs and such?
PB&J
Smash Hero
i think i posted in this thread awhile back..if someone make me a controller that looks great..any colors u want to put on it ..i will pay them..ive done controllers before but eveyone elses always looks better than mine..bring it to rom 2,winterfest or pound 4 and i will give u the money
pm me for details
pm me for details
The-Guy
Smash Cadet
- Joined
- Oct 2, 2009
- Messages
- 58
So, another question, what paint should I use? Some people said not to use plastic paint because it wears off fast and makes the controller a gunky mess. I think someone said that car paint is good because it binds to the controller's plastic and is far more wear resistant than the plastic paint. Can anyone confirm this? Also, I don't want a very shiny controller. Any way of getting around that? I understand I want to use the clear coat as a protective layer, but is there any way that I could get the same protective layer without my controller being super super glossy?
Edit: Sorry I forgot, Dikastis Shok thank you for the help :D
Edit: Sorry I forgot, Dikastis Shok thank you for the help :D
Shök
Smash Champion
- Joined
- Jun 24, 2007
- Messages
- 2,251
Well, The-Guy, I would recommend you use Krylon spray paint. It's not that expensive and it gets the job done.
There are two kinds, however. The regular kind and the "Fusion" kind. The Fusion kind is very similar to vinyl dye, which bonds to the plastic. So, if you want to avoid sanding or priming, that's the way to go.
If you don't want a very shiny controller, avoid using too much clear coat. Some people go over the limit. Personally, and from experience, 4 coats is enough. I doubt 4 coats would make your controller super super glossy.
Cablue1992
Smash Rookie
- Joined
- Oct 21, 2009
- Messages
- 6
Hey guys, just attempted to paint my own controller, got to the very last step of applying my clear coat and to my dismay all of my work had gone to waste. The whole left side of the controller began to crack and Im unsure of why, all of the other steps i followed spot on.
Any Ideas? Or Fixes?
http://www.rustoleum.com/CBGProduct.asp?pid=403
that is the clear coat that I bought from Home Depot
Any Ideas? Or Fixes?
http://www.rustoleum.com/CBGProduct.asp?pid=403
that is the clear coat that I bought from Home Depot
Shök
Smash Champion
- Joined
- Jun 24, 2007
- Messages
- 2,251
Hmmm. There is a technique you could use with the clear coat to produce a less glossy finish. Just spray the clear coat a little farther away from the recommended distance. The outcome should be a little "matish" once you are done.Dikastis Shok, thank you again for your help. Is there any way I could get mat colors like the controllers come with? I don't really want any gloss, but if it's absolutely necessary for I understand. Could I use a deglosser or something?
Also, read the info below, The-Guy.
Ah. The infamous "vains" show their ugly rear again!Hey guys, just attempted to paint my own controller, got to the very last step of applying my clear coat and to my dismay all of my work had gone to waste. The whole left side of the controller began to crack and Im unsure of why, all of the other steps i followed spot on.
Any Ideas? Or Fixes?
http://www.rustoleum.com/CBGProduct.asp?pid=403
that is the clear coat that I bought from Home Depot
There are a couple of things that can cause this. One being the temperature. Not having, at least, a room temperature can affect the fusion between the clear coat and the paint. Another reason why I think this happens is the distance you clear coat your controller. When clear coating, you need a safe distance between your controller and your clear coat can. When you clear coated, did you follow the cans instructions or did you spray too close to your controller? If so, then this might be reason as to why the paint "cracked"
I hope this information helped.
Cablue1992
Smash Rookie
- Joined
- Oct 21, 2009
- Messages
- 6
Thank you for the tips D. Shok, i sanded and paint thinned the paint off of both sides of the controller and started from scratch again last night/this morning. At the moment it already looks like its going to turn out better just because I did a better job this time ^_^.
As for the clear coat, I think im going to let the paint dry/bond for 48 hours instead of putting it on 1 hour after the layer of paint is done drying. I feel like this will also rid of any troubles when applying the clear coat.
Will keep updating my status - probably going to finish this around wed-sunday!
ThunderSt0rm
Smash Champion
I want to try re-spraypainting one of my older controllers, but I have no experience with spraypaint(ing) and I'm afraid I'll mess up somewhere ain the process, so I'm not sure what I should do/where exactly to start
The-Guy
Smash Cadet
- Joined
- Oct 2, 2009
- Messages
- 58
Thunder44, go to the first page of this thread and read. It should give you the majority of information you need to know. Dikastis Shok, thank you again for your help. Cablue is painting his controller red. I think I am going to two tone mine, with dark blue on top and white on the bottom.
ThunderSt0rm
Smash Champion
Meh, I'll go read it again then......
Cablue1992
Smash Rookie
- Joined
- Oct 21, 2009
- Messages
- 6
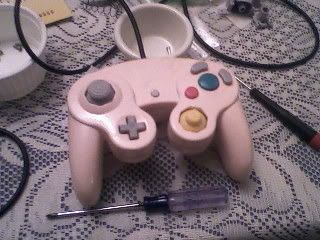
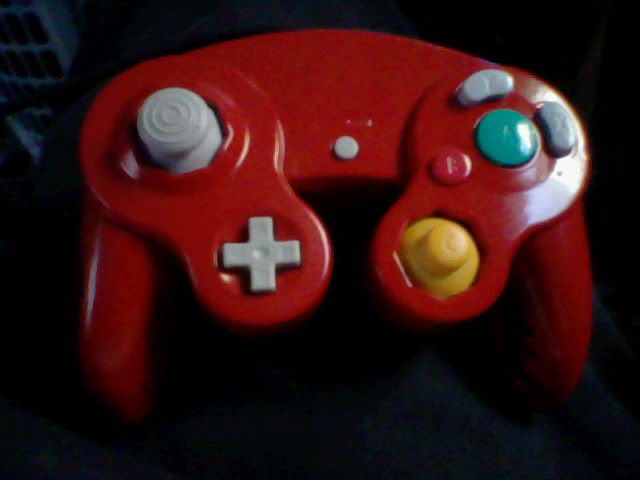
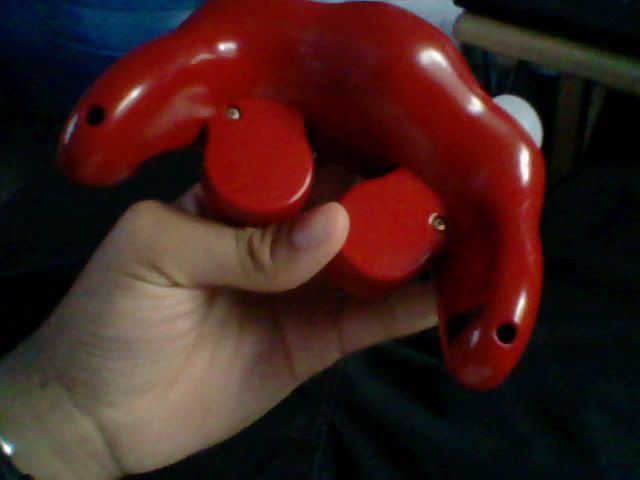
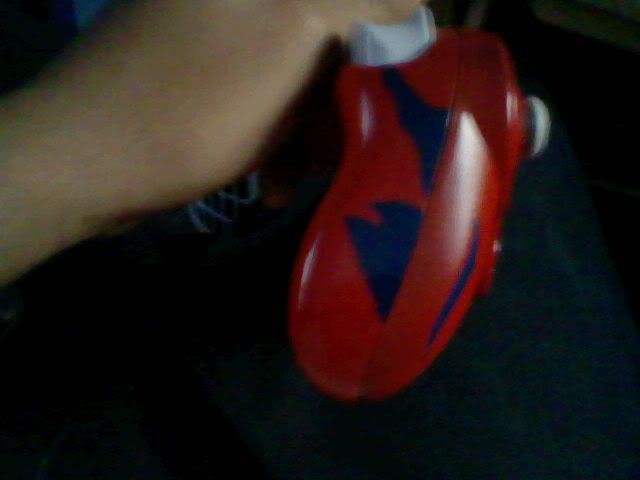
Hey Dikastis Shok, Heres a quick pick a just threw in the parts real quick to show my friends what it looked like while I was away. Its just full red, was always a fan of the N64 Full red controller that I could never have when I was a kid haha! Gonna try and re-create some childhood fun I guess. This is before clear-coat! Gonna do that tomorrow!He he. Anytime. What color are you painting it, Cablue?

The-Guy
Smash Cadet
- Joined
- Oct 2, 2009
- Messages
- 58
I just finished putting on my first three coats. It came out really good, I'll post pics in a little bit.
http://tinypic.com/r/2emltzo/4
http://tinypic.com/r/2i12zie/4
http://tinypic.com/r/4lgl8x/4
http://tinypic.com/r/fz3qc5/4
http://tinypic.com/r/swvj82/4
http://tinypic.com/r/14buiyw/4
http://tinypic.com/r/2emltzo/4
http://tinypic.com/r/2i12zie/4
http://tinypic.com/r/4lgl8x/4
http://tinypic.com/r/fz3qc5/4
http://tinypic.com/r/swvj82/4
http://tinypic.com/r/14buiyw/4
Jun.
Smash Lord
what did you use? Beginning to end?Feels exactly like the real controllers.
Shök
Smash Champion
- Joined
- Jun 24, 2007
- Messages
- 2,251
He he. I like the outcome. How did you do it?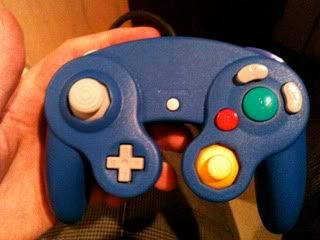
Feels exactly like the real controllers.
The-Guy
Smash Cadet
- Joined
- Oct 2, 2009
- Messages
- 58
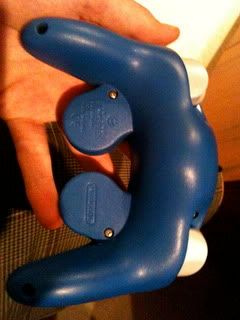
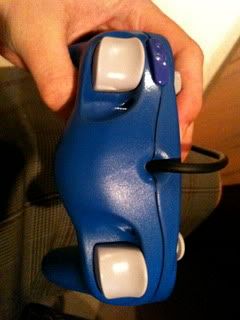
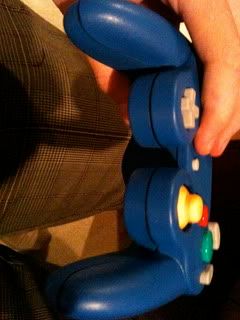
Sanded it with a thicker grit, about 320 I think, and finished it with 600 grit sandpaper. I used a blue Krylon paint so I didn't have to use primer. I sprayed farther away than the can said I should and made sure the coat was even. I let it sit for a day and than sprayed on an acrylic clear coat. I did about 3 thin clear coats and sprayed father away. When I had sprayed it looked like tiny crystals were covering it. I let that sit for about 2 days and the crystals kind of went down, but not enough so I rubbed most of it off with my hands. I then used a really really fine grit sand paper and sanded it down lightly. It looks better in person too :D. Thanks to Dikastis Shok for the spraying farther away tip. I'm gonna paint another one yellow next next weekend, I'll be sure to post pics of it.
Jun.
Smash Lord
that.... is some patience lolSanded it with a thicker grit, about 320 I think, and finished it with 600 grit sandpaper. I used a blue Krylon paint so I didn't have to use primer. I sprayed farther away than the can said I should and made sure the coat was even. I let it sit for a day and than sprayed on an acrylic clear coat. I did about 3 thin clear coats and sprayed father away. When I had sprayed it looked like tiny crystals were covering it. I let that sit for about 2 days and the crystals kind of went down, but not enough so I rubbed most of it off with my hands. I then used a really really fine grit sand paper and sanded it down lightly. It looks better in person too :D. Thanks to Dikastis Shok for the spraying farther away tip. I'm gonna paint another one yellow next next weekend, I'll be sure to post pics of it.
ThunderSt0rm
Smash Champion
Looks great, I can even see the texture on the controller.
Feels exactly like the real controllers.
ETWIST51294
Smash Hero
Is there anyway to keep the gamecube logo on it? If so, what do I use to keep it there? And is there anyway to paint the tip (the part that goes into the gc) of the controller? I'm making a n64 gc controller. Should I make the y and x button yellow like the c buttons?
You can try to make a cover that matches the gamecube logo and cover that up then spray paint over that and it should stay there once peeled off.
The buttons are the hardest to spraypaint and probably not the best idea.
My first experiment with this the controller failed (Only due to whether complication and it flying off my porch..I'm going to try again probably over thanks giving break.) When the paint didn't really stay on the buttons and rubbed off due to excessive use. And if the paint is thick on the top of the controller the paint will cause the buttons to become hard to press.
ETWIST51294
Smash Hero
I.....don't...think I'm going to do this anymore.lol Maybe I'll make it just for looks. I'll just stick wit mah spice orange clear back because this sh*t is madd complicated. Thanks anyway, rhan.You can try to make a cover that matches the gamecube logo and cover that up then spray paint over that and it should stay there once peeled off.
The buttons are the hardest to spraypaint and probably not the best idea.
My first experiment with this the controller failed (Only due to whether complication and it flying off my porch..I'm going to try again probably over thanks giving break.) When the paint didn't really stay on the buttons and rubbed off due to excessive use. And if the paint is thick on the top of the controller the paint will cause the buttons to become hard to press.
>_> I also wanted to bump this under appreciated thread.
I don't want to discourage you not to do it. You just have to research before you actually doing any kind of activity.
I just don't recommend spraying the buttons if you're inexperienced at spray painting or cheaped out on the paint... Just the the outter shells.
It's also helpful to have a backup controller always! My ideal controller is purple top and black bottom. And there already controllers that come in that color. So I just need to get those two controllers. and just switch the bottom shells with them.
I just don't recommend spraying the buttons if you're inexperienced at spray painting or cheaped out on the paint... Just the the outter shells.
It's also helpful to have a backup controller always!
My ideal controller is purple top and black bottom. And there already controllers that come in that color. So I just need to get those two controllers. and just switch the bottom shells with them.