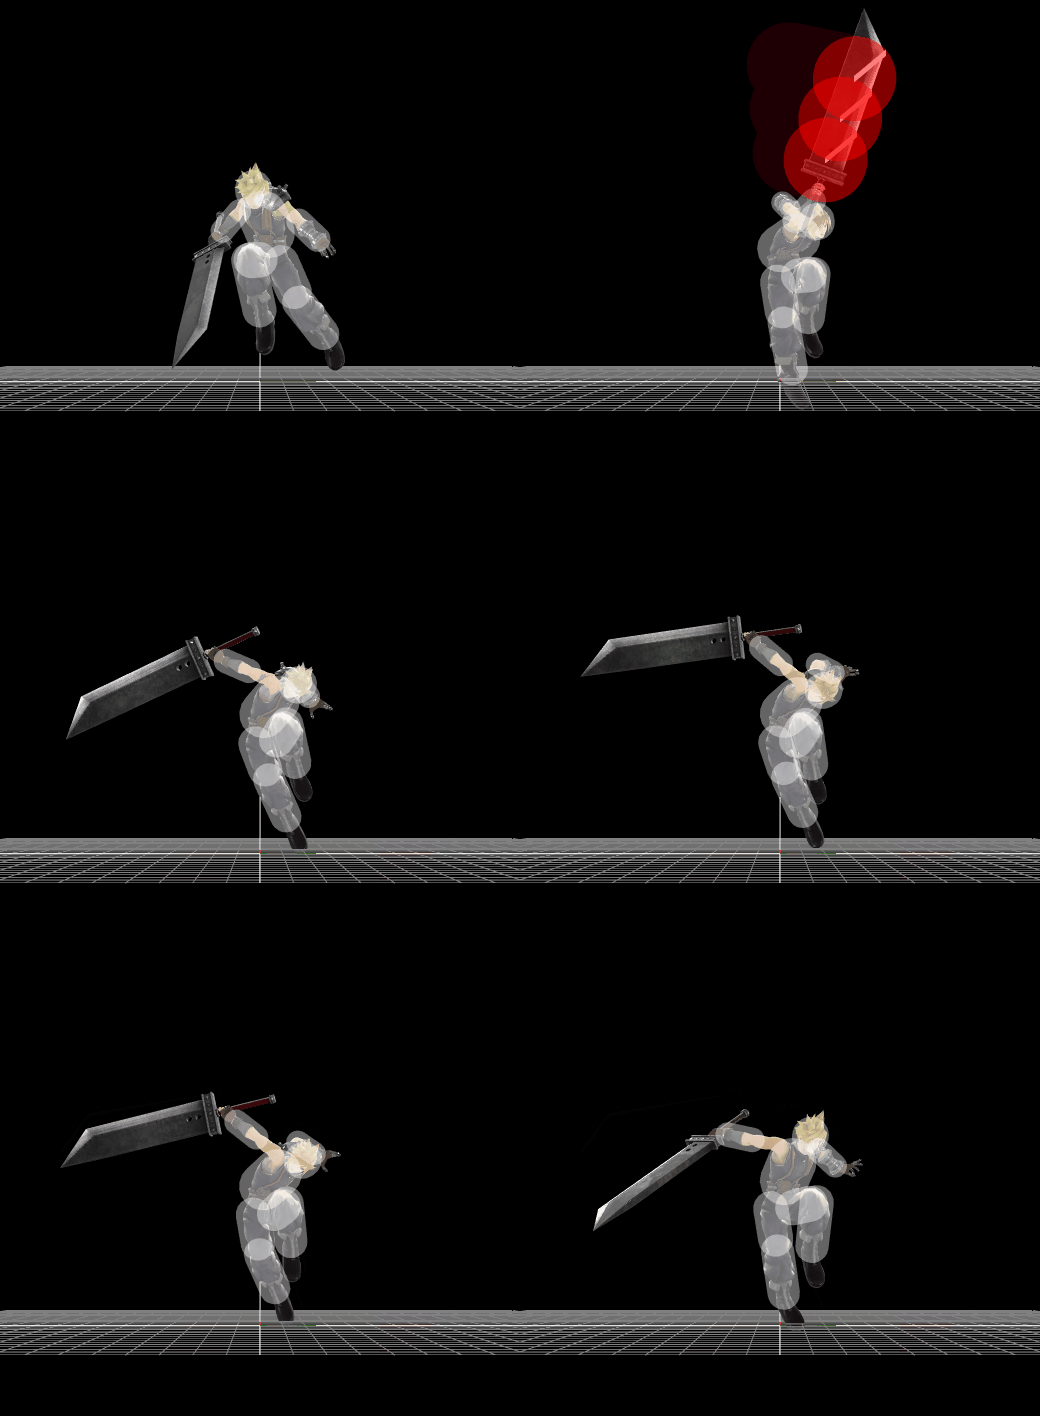
I really like the analysis. Especially since the hurtbox shifting is not talked about much at all. That said, I do think it's counterbalanced in part because Pyra and Mythra can struggle to kill if they can't land those early kill confirms fully. If those moves don't hit - or hell, hit but just barely not kill - they instead might come increasingly to rely on stray hits doing that work. Worst case the opponent's Rage helps them KO Aegis. Even Sparg0 got slowed down by that a number of times during his recent runs - for example from the recent Grand Finals Reset set vs. Leo:
* Game 1, first stock (
15:37): Sparg0 hits Leo with an U-Air at 110 %. While Leo gets to 120 and close to the blastzone, he realizes that Sparg0's looking to fish for aerials. He lands relatively safely (avoiding another U-Air in the process), spotdodges a Sparg0 grab, then jabs Sparg0 offstage. Sparg0 throws Blazing End to cover his return to ledge, but Leo reads the subsuquent neutral get up and catches Sparg0 completely off guard with a B-Air. That B-Air sends him far enough that Sparg0 can't recover even as he tried to switch to Mythra for the air speed.
* Game 3, second stock (
24:18): Sparg0 hits Leo with a B-Throw -> Blazing End, putting Leo at 145 %. However, Leo reads that Sparg0's going for the stray F-Air, dodges that and returns to ledge while Sparg0 is forced to Prominence Revolt. Leo neutral get ups and Up Smashes Pyra, killing Sparg0 instead.
* Game 4, first stock (
26:30): Sparg0 hits a D-Air but barely misses on the U-Air confirm, leaving Leo at 125 % (I have to assume the confirm stops being true around here?). Leo avoids a subsuquent U-Air and shields a Dash Attack from Sparg0, then hits Spargo with a N-Air -> Platform fall F-Air, then
spaces around Sparg0's F-Air and hits Sparg0 with his own. Leo then manages to read Sparg0 going in with a N-Air, dashes back and hits Sparg0 with an F-Tilt. While Sparg0 manages to evade Leo's Side B edgeguard with a well timed Swap -> Prominence Revolt and finally seals the stock with a Pyra F-Tilt, my point still stands since this took ca. 20 seconds, Sparg0 had taken 40 % and come very close to being killed himself.
* Game 5, second stock (
31:28): Sparg0 hits Leo with a D-Air -> Prominence Revolt, leaving Leo at 135 %. The only reason Leo survived this one is because he was sent across the stage, but that happens. Leo recovers and calls out Sparg0's double swap with a Side B, After a Sparg0 B-Throw that puts Leo at the edge, Leo rolls and Sparg0 barely misses the F-Tilt. Sparg0 reacts quickly and shields Leo's N-Air, but then when Sparg0 goes in for the Dash Attack... Leo short hop B-Airs Sparg0 and forces Sparg0 into a cagey edge situation. Sparg0 escapes but is punished by another N-Air. Sparg0 re-engages and hits Leo with a (sourspot?) N-Air, leading Leo to the ledge and allowing Sparg0 to finally close it out with a jab kill. Like the example above, this took Sparg0 half a minute to find the kill and he got caught himself in a couple of difficult scenarios.
The stray hits argument ties into my personal observation that Aegis are more linear than say Joker, Wolf or Palu. Yes those swings are effective, but they don't really have as strong of a Plan B as those three even if they can swap. In the end, they're gonna swing whether Mythra or Pyra (with the only real zoning play is Blazing End, but while that's strong that's also more committal than most projectiles). I kinda think that combined with them sometimes struggling to truly seal a stock is worth noting.
Edit: Yes, this is a lot on Leo out-reading Sparg0 in these specific situations; but while those moves are great, they're also Aegis' main tools once the confirms stop being true. Which means that the Aegis themselves might become more predictable as time goes on and people get more used to them, but we'll have to see if the counterplay winds up based partly around that.


 : 22 players (12 WB / 10 LB)
 : 8 players (3 WB / 5 LB)
 : 7 players (3 WB / 4 LB)
 : 6 players (3 WB / 3 LB)
 : 5 players (3 WB / 2 LB)
 : 4 players (1 WB / 3 LB)
 : 2 players (2 WB / 0 LB)
 : 2 players (1 WB / 1 LB)
 : 2 players (1 WB / 1 LB)
 : 1 player (0 WB / 1 LB)
 : 1 player (1 WB / 0 LB) (Edit:
  : 1 player (0 WB / 1 LB)
 : 1 player (1 WB / 0 LB)
 : 1 player (0 WB / 1 LB)
 : 1 player (1 WB / 0 LB)