bubbyboytoo
Smash Cadet
- Joined
- Apr 3, 2018
- Messages
- 48
- Location
- Canada
- NNID
- bubbyboytoo
- 3DS FC
- 2938-6587-7694
- Switch FC
- SW-3258-8380-4712

Welcome to Smashboards, the world's largest Super Smash Brothers community! Over 250,000 Smash Bros. fans from around the world have come to discuss these great games in over 19 million posts!
You are currently viewing our boards as a visitor. Click here to sign up right now and start on your path in the Smash community!
...Oy vey, it's at this exact moment that I realized that I accidentally made a set very similar to ForwardArrow's... I had to do a few double-takes to make sure that I wasn't reading a comment on mine.-snip-
:( at Down Special, but bloody wires are an interesting enough mechanic that it's probably okay. The rest of it is pretty cool, big shifts in his amorphous body to make it easier or harder to hit him alongside his deadly attacks with bloody wires making him overall hit harder and be harder to hit. Not entirely sure about how involved Jab is either but that's just MYM, really. Not 100% my cup of tea, which I suppose was to be expected from a heavyweight villain, but objectively definitely has the right stuff.I'm happy you liked the character choice, it was definitely you I was thinking of when I concepted it. You really influenced it, heh. Especially with the presentation/playstyle references to Vulture and your other sets. I'm glad it comes off as similar but very different, that was definitely the goal. The free flight conundrum is defintiely something I want to properly figure out, I think Junahu's Arche set was the first to properly tackle it. You can't really properly do it without analyzing every stage though like you said, and I had no time to do that. As for the size being 8 but also Greninja, Greninja stands as tall as 8/10ths of two grids and two grids is about the top of the height chart in Ultimate so that's what I was referenceing. For the other stats, I looked up the stats on Kurogane Hammer and eyeballed where on the list the character came in and just kind of tried to put a number ranking to it. That's the inherent problem with X/10 stats though, not everyone has the same idea of what they should be. As for the Sheik thing that's probably a typo due to rushing for JamCon as I change my ideas up a lot and it got leftover from an earlier idea.GREEN GOBLIN:
Here's a Spider-Man villain I toyed with the idea of making at some point down the road, potentially after No Way Home drops, so needless to say, my heart leapt when I saw you'd brought him into this Jam-Con's mix. For the most part, I'd say Goblin lives up to my personal hype, and not just because of its nods to my past sinister works. I remember sharing two years ago that Vulture's earliest concepts involved him attaching and reattaching from his wingsuit, which would fly around independently, and a few people at the time commented that the idea would be better suited for Goblin. Imagine my pleasant surprise to learn that, probably by complete coincidence, you'd successfully pulled off just that.
There are synergies with his flight and remote control option but by comparison, Goblin comes off as comparatively restrained in some places and freer in others. Unique to his own kit, Goblin's flight path wears off after being fully used once, but he can move right into free flight within an excellent implementation of the Steve "block boundary" paradigm. Even with his five-second timer, Goblin would come off as frustrating as hell to deal with on stages like Palutena's Temple, but as though MYM has ever concerned itself with those sort of outliers lmao. A minor note in the stats section specifically, I don't see how Goblin being an "8" for size makes him comparable to Greninja, or how K. Rool-tier ground movement renders him comparable to Sheik.
Beyond his base controls, I like a handful of the complementary functions among his bread-and-butter attacks. It took me a quick reread and some thought to come around on Down Special counter, but its ability to redirect projectiles — not mentioned, but of key importance when foes can throw Pumpkin Bombs back at Gobby — is a handy utility. Meanwhile, sleep gas functions as its own different pseudo-counter, not invalidating hitboxes themselves but slowing down most close-range attacks to the point where their user stays in the gas for the requisite 45 frames to fall asleep (an underutilized state in MYM to boot). The ability to transfer flight paths to the razor bats is a nice supplement to piloting the glider itself around (both at once could lead to some nutty setups), and Goblin's contrast in ranged options from his Neutral Special bombs vs. his glide attack ones provides for strong mix-up potential.
Moving into his standard melee attacks, I like how movement options are incorporated into aerials, in terms of Goblin's own trajectory with N-Air, his foe's with B-Air and his glider's with the potential remote D-Air bombing runs. The frame (dis)advantage in terms of how, and out of what state, he uses his aerials introduces some nice additional depth, too. There could have been even further territory to explore in terms of how Goblin's slow-fall could influence his ground-to-air combos — perhaps targeting where specifically he uses an aerial to influence landing lag/auto-cancel frames such that he can proceed right into a certain standard or Smash — though that you put out all that's already there within Jam-Con's confines already is impressive in and of itself.
There's some wonkiness in terms of KO percentage, where moves that only kill at 148% (F-Smash) are described as potent...I fully get not freaking MYM readers out from a balance standpoint, but when comparatively(?) committal moves like Bowser and Ganondorf F-Smash can finish off middleweights at less than half that (63%), a numbers revisit might be in order. Otherwise, the balance of Goblin's melee feels well-rounded with simpler melee attacks that work well around his central mechanics, with a few nice surprises (like D-Smash) in the mix for flavor. In that respect, he's the sort of set I'd aspire to make if I were less obsessive in terms of months-long writing processes, heh. Gobby himself might be "OUT," but he's sure to end up a safe inclusion around the upper half of my vote list. Great work!


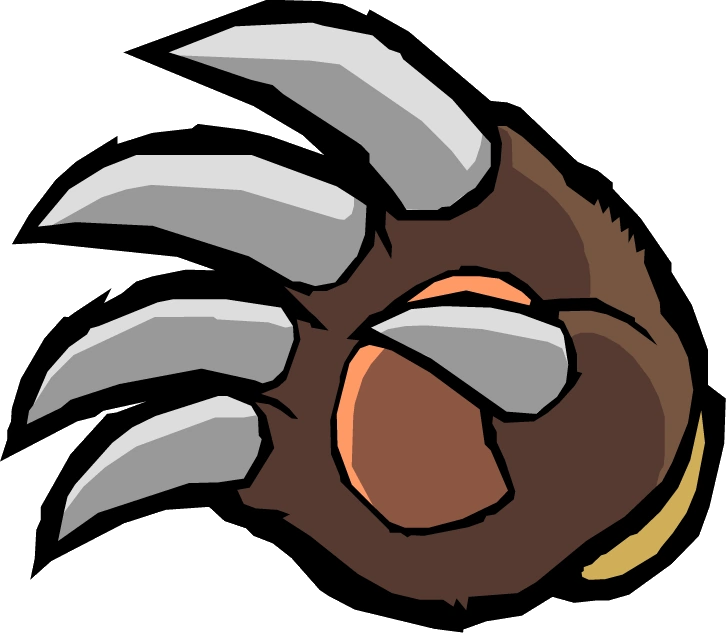


Yep, it was much less ambitious and simpler than Benny. A lot of the time I want to push myself to try to work in extra inputs but I didn't feel the need to do it with Goblin beyond shield special, so it was refreshing. I'm glad you like the glider, it's probably the centerpiece of Goblin's toolkit so I wanted to make it so. Reimu as the DLC character would be awesome, and I'm happy you were inspired! The Pumpkin Bombs were very much inspired by Snake's grenades, to the point I based their KO percents directly off of the grenades, making them weaker when not on sweetspot and stronger when on sweetspot. The Bat Grenades were indeed intended to be pressure tools as well, nice catch. Sleep Gas turned into a fun reference to a neat interaction with his projectiles.Whatchu Mean, Kermit, It Is Easy Being Green!
Green Goblin byKholdstare
Going from Benny, this is certainly more simple, but sometimes that's a good thing, mainly because of how much Green Goblin accomplishes without any minions.
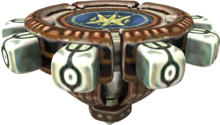
Firstly, let's start with the glider. It's a really unique way of recovery and aerial domination, mainly because of how flexible you can make its flight path. The idea of an Up Special guided by Shield Special, as well as a Glide Aerial, sounds like a very intricately powerful system that basically makes the crux of this entire set, and I legitimately want to have a character that uses similar mechanics. (God, let the final DLC character be Reimu I swear) Anyways, the Pumpkin Bombs sound like a fun, if only for how much more you can do with them than Snake's Grenades, and that's just with the base Pumpkin Bombs. The Bat Pumpkin Grenades, on the other hand, seems extremely good for pressure from all sides, and the fact that they can follow the glider while it's using Shield Special gives it a really fun means of capping off an air combo. The Sleep Gas is really interesting, being a move that slows opponents down but douse them with enough of it, you actually put them to sleep. Really gives you a level of dedication when you want the best possible outcome.
The Glide Attack is a really fun take that takes advantage of the Green Goblin's means of achieving aerial dominance. This makes me think you could rack up damage with Glide Attack before following up with Neutral Air or Forward Air depending on your opponent's damage percentage. Gives him some amazing ladder combo potential, making it easy to kill someone at the top of the screen. A lot of the other attacks Green Goblin has seemed to feel really satisfying to land, just like with the GIFs you've provided. Maybe it's because of the GIFs you've provided, all things considered. The F-Smash sounds especially deadly and seems to give him some offensive potential that brings Roy to mind, in a good way, especially since the sweet spot is so powerful. I love how U-throw damage scales based on foe's weight. Shin Godzilla is definitely feeling the full brunt of the assault, that's for damn sure. The Final Smash also sounds extremely unique, playing with stocks all around. Absolutely love it.
Overall, the Green Goblin seems like the perfect balance between complex and simple which really makes it stand out this JamCon. A great homage to a great incarnation of the character.
Vulture was a big inspiration, much like how Huntress was inspired by Blight. The glider control being fun was something I wanted to evoke because sometimes a character's kit being very enjoyable to play makes up for their other shortcomings just by the beat-by-beat mechanical enjoyment other than dominating a foe. The kinetic feel of the melee I'm glad you liked because you can definitely feel it in the movie itself - the Spider-Man films were always very motion-centric and Dafoe mentioned in an interview that the Goblin role required a lot of wire stuntwork. The final Goblin vs. Spidey fight is one of the best fights in superhero movie history just because of how much you can feel the blows. I should have laid out more playstyle lines for sure, being a jamcon and it being more of a topdown than bottom-up set hurt this. Thank you for the suggestions, I'll see if I can improve them when I get around to edits! Throws should definitely be better for sure, Goblin is intended to be somewhat of a grappler so they could be beefed up for better quality. That's a good suggestion for the throws as well, thanks for catching that! I'm glad you liked the set and don't worry about the complaints, I take everything into consideration and nothing ruffles my feathers anymore. Gotten pretty mellow in my years hehe. Thank you for commenting and reading!Green Goblin
Rounding off the block is the Green Goblin, a cool choice that borrows a bit from Kupa's Vulture set to create a very interesting air game that can simultaneously support your melee-oriented ground game thanks to the ability to program his glider as an autonomous construct. The core is solid and controlling the glider feels like a fun time, and it's a shame that the set doesn't quite build on it for the rest of it.
The standards and smashes all have their uses and despite the former being fairly simple punches and kicks, there's a kinetic energy to how they're delivered that make them sound satisfying to use. There's not much to them, but like with Jackie Chan, they do what they need to. I do feel however that laying out one or two combo strings or just highlighting a little more about how well they work with each other would've been nice; Up Tilt and Down Tilt both do well by making mention of chaining well into the air game and being a safer but lesser reward for landing the sleeping gas, respectively, but a little more with Jab/FTilt/Dash Attack in that vein would've been appreciated. They're simple, but it feels like that's a consequence of the character and not necessarily to the set's detriment.
The weakest section for me was the throws, barring a neat quirk in Up Throw that I wish was expanded upon a bit more. One's a KO throw, one's an aerial combo starter, one sets up chases/ground combos and works well with spacers, and one's a damage throw (though I feel all the throws do potentially too much damage). Up Throw calling in your Glider as a break in its pattern before immediately resuming its pattern from that point with Goblin transitioning to riding atop it is a nice touch that ties it into Goblin's core gimmick, setting up some fun aerial hijinks.
Forward Throw I feel the animation for would be a nice side benefit to use in combination with the Pumpkin Bombs or so the glider can get closer to the blast zone/into position as it lets him hold the foe in place longer, which would be worth mentioning on top of its existence as an excellent reference. Back Throw and Down Throw, though, would probably benefit from a list of good options to use out of them.
To close this out on a positive note after picking nits for a few paragraphs, this set does well to convey the feel of playing William Dafoe Green Goblin and sounds like a hoot in general. My complaints are small, make no mistake, and I'm happy to see the character get a set with this much love in it. Excellent work, Khold!
The glider programming was a great fun bit to think of, the only thing holding me back was my intent on making it all movie references, I think I could definitely get away with making some of the moves non-movie references if I rework this set. It is admittedly wonky, hehe. I'm glad you like the slowfall and glider attacks, Froy's comment about slowfall was perfect for me to work into an aerial-based character so soon. You're right about the movie references, the GIFs were basically carrying the set in terms of inspiration - it took me forever to figure out how USmash and DSmash would reference the movie - and Jackie Chan was a set that genuinely made me laugh and smile because of the references. Goblin does have much less to work with for sure, being only one movie to go off of (at least until Christmas!) It is really hard to add nuance to the set when it is just references, the programming the glider/bats was the closest thing I could get. The set was just a love letter for Dafoe Goblin for sure.Green Goblin
As someone who was a huge fan of Vulture, I'm a bit drawn to Green Goblin for following in that set's footsteps. Programming the glider to use his aerials feels like it'd open up a lot of fun tools for Green Goblin as the glider bombards the foe, drags them around, and stabs at them, providing an additional layer of pressure to the Goblin's game. It IS a bit wonky as detaching Goblins aerials from his body can result in the glider being much harder to use to its fullest potential and leave the Green Goblin awkwardly helpless in the air without it. I do like the addition of the pumpkin bombs ability to have a programmed flight similar to the glider's own and the slowfall letting the Green Goblin get even more mileage out of his glider attacks while he's riding it, that's all fun stuff.
I feel like past the cool concepts with how the glider works, most of Green Goblin's fun factor comes from how directly it translates his animations from the movie. This feels similar to Jackie Chan's appeal... except I don't feel Green Goblin ends up with nearly as much to work with. Jackie Chan is a martial artist with a strong knowledge of everything the human body is capable of and as such has a ton of interesting animations and moves to draw from, Green Goblin kinda just punches and kicks people in a fashion that its hard to add much nuance to. While it leaves the set very faithful to the movie, it fails to really build on the concepts introduced with the glider, and ends up more of a showcase of how much fun Willem Dafoe's Green Goblin is than a particularly strong moveset on its own right. It also comes with some really wonky numbers, the goblin bomb feels absurd killing at 70% from anywhere on the stage no matter what while stuff that's described as having very impressive knockback later in the set kills at like 180% or so, making them better than every other kill move in his set to a kind of obscene degree. I also really don't think the skeleton disintegration to kill from anywhere on the stage is entirely necessary, if I'm being honest. There's a place for animations where the foe dies from where they are on stage but I feel like the bombs in this set are close enough to regular bombs in practice that just having them explode for high knockback is enough to get the point across of what they're supposed to be.
For what its worth this set was clearly written as a vehicle for the Green Goblin's personality first and foremost, and it handles that very well, its just a bit of a shame that the interesting conceptual side of the moveset ends up not really going the places I wish it did. Still a fun addition Khold, I did enjoy reading it despite my criticisms.


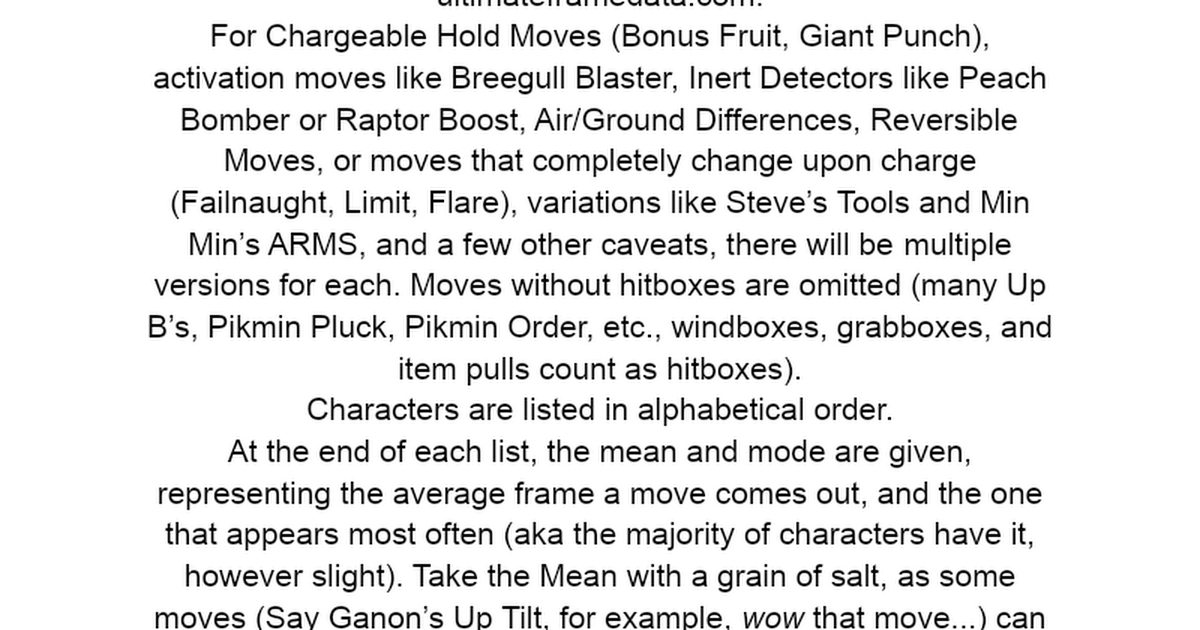
 docs.google.com
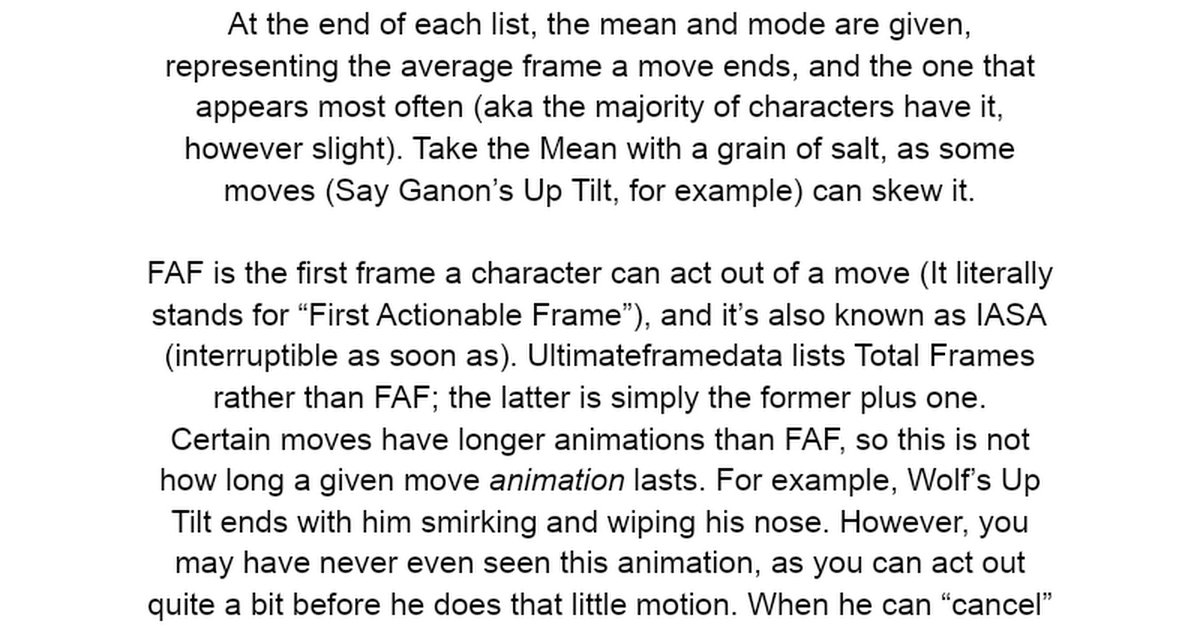 docs.google.com

")

