Reiga
He sold diddy for a switch

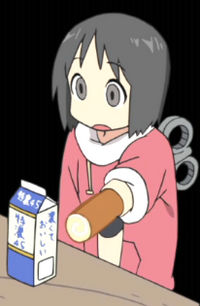
Nano Shinonome
Nano is a robot built by the 8 year old professor Shinonome made to manage the household doing chores, shopping and such, since she lives alone. Despite the professor's young age and young mindset she's somehow a genius and made a robot that practically is identical to a real human... except for the key on her back... not to mention that the professor constantly upgrades her with useless gadgets, like a roll cake dispenser and a rocket propelled arm, much to Nano's chagrin, since she just wants to be like other people and doesn't want somebody to know she's a robot.
If you do not know the anime where she is from, it's called Nichijou (日常). It is a 26 episode 2011 anime based on a running manga series that depicts in a comedic way the everyday lives of various characters (mainly the trio of the highschool girls Yukko, Mio and Mai and also Nano and the professor), often using really strange situations and making mundane seem awesome, it's a good anime and all and I'd recomend to someone who wants a good chuckle.
Stats:
Height: 6/10
Crouch Height: 4/10
Weight: 6/10
Ground Speed: 6/10
Aerial Speed: 7/10
Fall Speed: 8/10
Wall Jump: No
Wall Cling: No
Crawl: No
Special Moves
Side-Special: Rocket Arm
Nano puts her right arm in front of her and then has her arm flies off, flying horizontally with a small fire spurting from behind it. Anyone hit by Nano's hand will suffer 9~10% damage and overall decent knockback, with the hand then falling to the ground and turning into a throwable item that does 6% with no knockback and dissapears after hitting someone when thrown. Nano's arm will travel two thirds of Final Destination, always lowering a bit until it hits the ground and becomes a throwable item. The item acts as normal to adversaries but when Nano collects it she regains her arm.
If the hand dissappears (either by being thrown or staying in the ground for too long), Nano has a new arm come out and replace it. If Nano's arm falls off the stage her arm will automatically be substituted.
During the time Nano doesn't have her arm she can't use her Side-Special again and some moves are affected either negatively or positively, like...
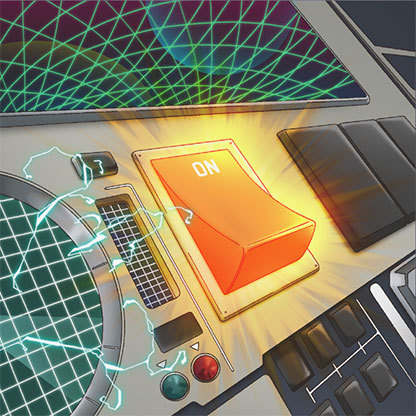
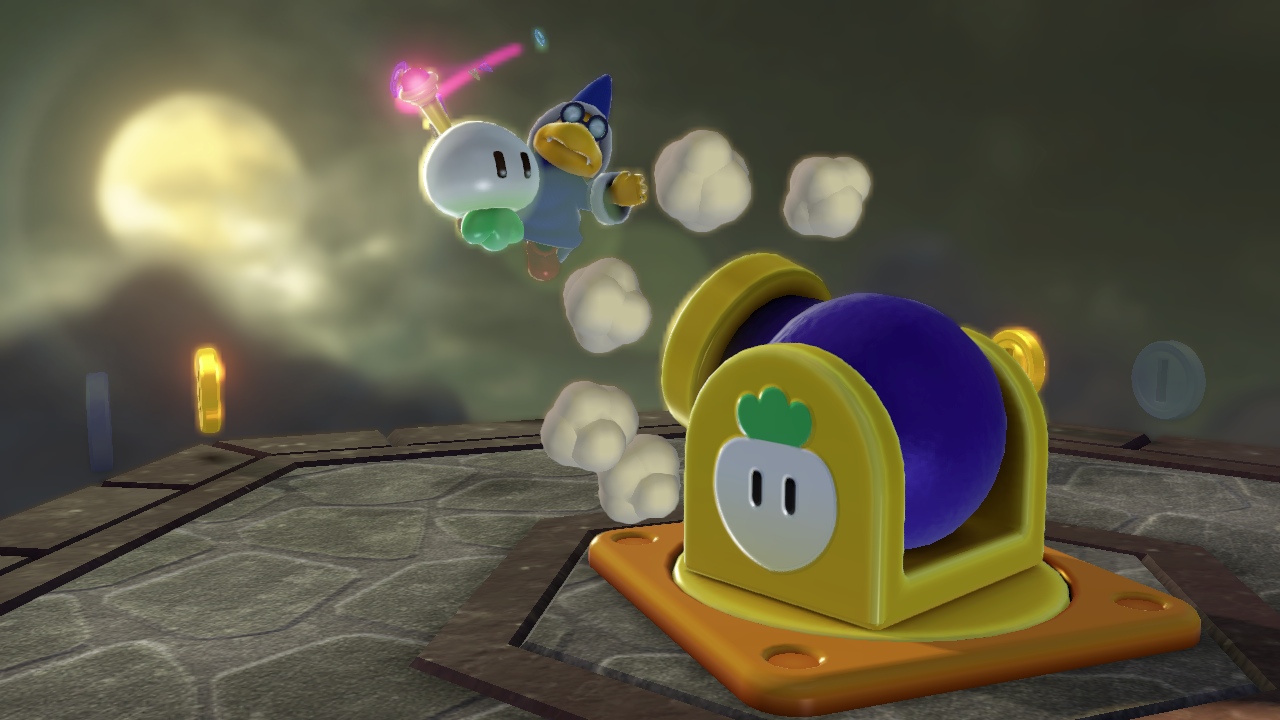
Neutral-Special: Soybean Gun

Nano put's her right arm forward and the animation above happens. She can then can fire up to 6 soybean, the first 5 do 2~3% damage with almost no knockback, while the last one does 5~6% and has good knockback, being a bit bigger to distinguish it from others.
Startup and ending wise, the move has a bit of lag. When used when Nano doesn't have her arm it doesn't have lag and she can now shoot up to 8 soybeans, with the last 2 being the more powerful ones.
Down-Special: Food Dispense
This move on input has Nano dispense one of many foodstuff that then become an item consumable to her and adversaries. These food items include:
-Roll Cake: Out of Nano's left arm comes out a roll cake. The start of the move has a lag of one second (that is lowered to half a second when Nano doesn't have her arm). There is a 30% chance of getting a roll cake.
A roll cake heals 15% damage from any character.
-Sweet Bun: Nano's forehead opens up and a little tray with a sweet bun comes out and the sweet bun falls to the ground with little to no startup lag. There is a 60% chance of getting a sweet bun.
A sweet bun heals 5% damage from any character.

-Fish Cake: In the same way as the roll cake is dispensed, a fish cake comes out with the same startup lag. The fish cake is pretty rare and has a 5% chance of appearing.
The fish cake is a favorite of Nano and can be consumed for a 25% damage heal.
-Loser Popsicle Stick: In the same manner as the roll cake and fish cake a popsicle stick with "loser" written on it comes out. This has a 5% chance of appearing but only makes Nano look at the popsicle with a suprised expression for 2 seconds, being then open for attacks.
Up-Special: It's Flying.
https://www.youtube.com/watch?v=eIA3YKNj_DQ
Nano puts her right arm in the air as it flies off vertically 1 Battlefield platforms with a wire, unlike in the video shown, Nano's hand is open and if it touches a ledge she will be pulled back to her arm.
Right when the arm is being launched off you can move the circle pad any of the vertical diagonal directions to make her arm move that direction.
If Nano doesn't have her right arm the move will have a second of startup lag for a new arm to substitute her old arm, and it's not just for the move as after the move is executed Nano will still have the new arm!
Ground Moves
A Combo: Bag Bash
Nano swipes a shopping bag to the left, then to the right; the combo will continue until the A button is released and Nano finishes the move by swiping upwards the shopping bag. The horizontal swipes do 4~5 damage with very little knockback, while the finisher does 8~9 and good knockback.
Side-Tilt: Flower Slash
Move based on: https://www.youtube.com/watch?v=jgTr4J2aMRw
Nano "slashes" forward with her right arm being substituted randomly by either a single flower, a small bouque of flowers or a big bouque of flowers. The damage given by the move depends on the quantity of flowers, with the lone flower only doing a laughable 1% damage with no knockback but has a 60% chance of appearing, the smaller bouque does 8~9% damage with moderate knockback and has a 30% chance of appearing, the bigger bouque does 11~12% damage with good knockback and a chance of flowering opponents, the move does however only have a 10% chance of spawn.
Side-Smash: Shark Bites
When charging Nano will do a pose as if she is was playing rock, paper, scissors, with a shark mitten covering her right hand. When the move is executed Nano will put her right hand with the mitten forward and do 2 "bites", with the second one dealing the better damage and knockback. The first "chomp" uncharged and fully charged do 15~16% and 20~21 respectively and can KO at around 180% uncharged and 150% fully charged. The second "chomp" uncharged can KO at 170% and does 17~18 damage, fully charged it can KO at 145% and does 23~24%
The move functions completely differently if Nano doesn't have her right hand. First off, the shark mitten is barely visible because it's only occupying what's left of Nano's arm and the jacket is in the way, decreasing the moves range and substituing the "chomps" with a punch with the mitten that does more damage to compensate the range. Uncharged, the attack can KO at 155% and does 20~21, while fully charged can KO at 125%
Just like many smash attacks for other characters, this move can be steered while charging to attack diagonally.
Up-Tilt: Dharma Doll
Nano faces the screen and swipes above her horizontally with her Dharma doll (pictured above, with sunglasses painted on by the professor). The attack does 8~9 damage and has pretty good knockback. The move is good for starting a juggle.
Up-Smash: Let's do a good strech...

For the duration of the charge Nano will strech her right arm, with her left arm behind her. When the charge is released Nano's right hand will rocket off and then fall back down and turn into an item when touching the ground.
The distance Nano's arm covers before falling depends on the charge, with the minimal distance being that the size of Kirby. Nano's arm both when ascending and falling does the same damage, uncharged it can KO at 165% and does 14~15 damage, while fully charged it does 20~21% damage and can KO at 130%.
If the move is used while Nano already doesn't have her arm, she will stretch and a new arm appears in it's place, not doing any damage and only giving her another arm.
Down-Tilt: Cuckoo Clock
From her crouch position Nano will have a cuckoo-clock bird come out of her forehead in a way similar to the sweet bun. The cuckoo bird will do 6~7% damage with not a lot of knockback but has almost no lag and has a disjointed hitbox.
Down-Smash: A Terrible Trumpeteer

Nano will get a trumpet and start to play it, music notes with a squiggly effect (you know, those that represent music being played badly in cartoons) will be emmited and she will be moving around like the picture above. Nano will toot it in front of her then toot behind her then again in front of her, each time emmiting 2 music notes that uncharged can KO at 170% and do 12~13% damage, while fully charged they do 16~17% damage with a probabillity of KO around 145%.
If Nano doesn't have her right arm she will play it even worse (try playing a trumpet without fingers). She will now emmit 3 music notes at a time but accidently drops her trumpet when moving back to the front and so won't play it after moving from behind her. This move is basically trading utillity for power.
Dash Attack: Shopping Shower
From her running animation, Nano slows down a bit as she throws one of various shopping items, these include:
Green Onions: does 7~8% damage with not a lot of knockback. Can be picked up and thrown for a mere 4~5% damage.
Shark Chocolate Box: does 9~10% damage with good knockback. Can be picked up and throw to release 3 shark chocolates, each healing 3~4%
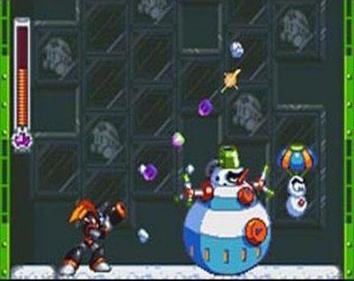
Shaved Ice Snowman: a snowman made of shaved ice that does 11~12% damage with great knockback and the abillity to freeze opponents.
Aerial Game
Neutral Aerial: Spinning Shopper
Nano will do a horizontal spin with a shopping bag in her left hand, the move is pretty quick on input and does 7~8% damage with good knockback and a possibility to meteor smash who is hit by the shopping bag.
Forward Aerial: Catch!

Nano will throw a baseball forward with tremendous force, the baseball disappears at the distance of 4 Nanos, has excellent knockback and does 6~7% damage, but has a bit of both startup and ending lag.
If used without Nano's right arm she will instead have the ball stuck on what's left of her arm and then shoot it out, this will do more damage (8~9%) and more knockback but less range (it only moves 2 Nanos forward).
Back-Aerial: Key Spin
Nano suddently becomes more nervous and her key starts to spin rapidly, anyone in contact with the key in her back will suffer a continous 5~6% damage with good knockback, the move does however suffer from a bit of lag in the end of its execution.
Up-Aerial: Dharma Throw
Nano throws above her in a very short distance (about the size of Kirby when croucing) her dharma doll, just like her up-tilt this attack does 8~9% damage with good knockback, what this version has going for it though is that it gives Nano a disjoint hitbox.
Down-Aerial: Shark Chocolate
Nano get's a box of shark chocolate and opens it upside-down, 6 chocolate sharks will then fall down, each doing 3~4% damage and little kncokback, the move does however meteor smash and doesn't have a lot of lag.
Grab Game
https://www.youtube.com/watch?v=dYbMpAp2NSo
For her grab, Nano will have her arm launch forward with a chain, then quickly retract, the distance her arm covers is about the size of Link's Hookshot. Alongside grabbing opponents on it's way the move can tether (compensating the Up-Special only reaching upwards and diagonally), the move can also get items on it's way for Nano to hold. (based on the video above)
If Nano doesn't have her right arm she will instead throw a gardening hose forward to constrict enemies. The move only moves one forth of a Battlefield platform and can't tether or grab items, being more of a downgrade of the other version.
Pummel
Nano slaps the opponent for 3~4% damage, pretty simple move.
Up-Throw
Nano uses her right arm to propel upwards with the opponent still with it, this attack does good vertical knockback and does 6~7%, but at the cost of losing her arm.
If Nano doesn't have her arm she will instead throw the gardening hose upwards with the opponent still entangled inside of it, it does the same damage as the other version of the move.
Front-Throw
Nano puts the opponent on the ground and then fires 2 soybean (each doing 1~2%) and then fires a bigger one that does 6~7% and knocks the opponent horizontally a good distance.
Down-Throw
Nano will place the opponent on the ground then drop her dharma doll on them, the opponent will be launched off and will suffer 8~9% damage.
Back-Throw
Nano drops the opponent on the floor then moves to in front of the opponent, she will then get a baseball bat and swing it at the opponent for 7~8% damage with a high throw distance.
Final Smash: Explosive Trip
https://www.youtube.com/watch?v=ruVnxJXjKJ0 (If you don't want to watch the full video just skip to 1:20)
On activation, Nano will trip and the match will then go on slow motion, when she falls a huge blue explosion will occur and enemies will be pushed with imense force off the stage, not only that as being pushed by the explosion wooden dolls, red toy cows and pieces of salmon will be also pushed by it and will damage opponents for 10~11% damage and amazing knockback.
Misc. Info
Entrance: Nano's right arm will appear in the screen, Nano with her right arm missing will then run up to it and put it back.
Up Taunt: Nano will say "First comes rock, then comes paper..." "you can't throw all of them, rock paper scissors shoot!" and she will throw either rock paper or scissors.
Side-Taunts:
Nano will check a digital watch built into her right arm, if the match is paused and zoomed in one can see that the time is the same as in real life.
Down-Taunt

Nano will do this but without the part where she jumps over the professor.
Victory 1: Nano is seen running trying to get her hand that is rocketing away.
Victory 2: Nano is seen standing, then her arm rockets upwards with the wire from the up-special, she then slowly is pulled to the ceiling.
Alt Costumes:
Main Costume: A red jacket and jeans
Costume 2: A blue jacket and jeans
Costume 3: A red schoolgirl outfit
Costume 4: A blue schoolgirl outfit with a tie
Costume 5: A yellow apron over her red jacket with "kumoma dori" and a yellow bird on it
Costume 6: The yellow apron over a green shirt
Costume 7: A plain shirt with a ghost with a long nose with a yellow bird on it, below it reads "OBK"
Costume 8: Basic white pajamas with a little blue bird on the top right of it.
Playstyle
Nano seems to have pretty average stats at first glance, that seems quite right for her, but what she has going for her seems to compensate that, she has a variety of projectile moves like her rocket arm, soybean gun and even has the disjoint hitbox of her dash attack and up aerial, not to mention a move that spawns items that restore percentage and the abillity of having almost no startup lag on some moves thanks to sometimes not having her right arm. Ms. Shinonome does however suffer from a low weight and only having tether recoveries, so it's not advised to go headfirst into opponents way stronger (which isn't very hard due to said projectiles and disjoint hitbox).
It seems as if with and without her arm Nano's moves have a different style of play. With her arm most of her moves have less power but more practicality (for example the F-Air, since it has less power but more range), while without her arm she seems to have way better power and better speed to execute moves, making it a best option during most of the battle to keep Nano's arm, but take it off if you want to do the finishing blow on the opponent.
~~~~~~
(end of moveset.)
So guys, what do you think? This moveset took a crapton of time to make and I really like how it turned out.
I'm not really one that loves and watches all the time anime, so for me to really like an anime like Nichijou was a suprise so I guess I just had to make a moveset for somebody in the cast, when I thought of Nano I was thinking of just some basic moves, then I rewatched Nichijou and billions of ideas came to my head.
Making movesets for slice of life characters is tough, but sure is tough. When I started this I had 98 posts, I then posted some comment on another thread just so that this can be more special, but that's just me
 .
.EDIT: Oh, look, new page!
EDIT2: Did some changes to the moveset thanks to a comment by Kat.
Last edited:


.jpg/revision/latest?cb=20140110181419&path-prefix=es)


.png/revision/20111129185233)


.png/revision/latest?cb=20140724115856)


")