Infinity Sorcerer
Smash Champion
I waiting for view Dizzy, but probably comes has a DLC character.
Also i made this spirit board, opinions?
Also i made this spirit board, opinions?
Last edited:

Welcome to Smashboards, the world's largest Super Smash Brothers community! Over 250,000 Smash Bros. fans from around the world have come to discuss these great games in over 19 million posts!
You are currently viewing our boards as a visitor. Click here to sign up right now and start on your path in the Smash community!
Only real issues are that I don't see UNIST getting represented as BB and GG at least have history together and disliking how they aren't properly ordered like Spirit Boards usually from weak to strong, other than that I like this selectionI waiting for view Dizzy, but probably comes has a DLC character.
Also i made this spirit board, opinions?
Hmm, I don't think they'd use art from Strive if Sol were to ever be in Smash honestly, I think they'd either use X or XX art. Like, I can see them using this for Sol's Fighter Spirit. I do think Zato is suspiciously missing from there as he's a fighter from the OG Guilty Gear. Testament and Slayer are characters I can see getting Spirits too.I waiting for view Dizzy, but probably comes has a DLC character.
Also i made this spirit board, opinions?
I've gone from Sol to primarily using Ramlethal today, and oh god, I think I'm in love. I really love her new moveset in this game compared to her Xrd's incarnation. Didn't really like how you've had to control the individual swords before. I've been primarily fighting on Floor 6 and 7! Also a big fan of the Floor names lmao, I'm a big rock/metal fan so I always appreciate these little nods to the music genre Daisuke likes to put in Guilty Gear.Yeah I would not expect spirits beyond Guilty Gear. Mii Costumes for Blazblue would be more likely.
As for Strive's final character, I'd like Johnny or Baiken, but they're gonna be DLC for sure. As most of you I'm thinking the character will be Ariels or That Man. But maybe Aria? She could bring Jack-O's moveset, or part of it. I'd expect her to be playable at some point, though I think the same for That Man. So if both do not make it for base roster, I predict they will eventually make it during DLC.
In any case, the beta has been very fun so far and the netcode is great. I've playing more Leo and I've reached Floor 7. He's truly an unga bunga character, but he's really fun lol. Never played with him a lot in Rev 2 so I'm "discovering" him now. Maybe is just me but I have the feeling the beta is reaching out to a lot of people, or at least among FGC streamers. They're basically playing Strive 24/7. And everything I've seen on social media from people who isn't into fighting games or people who plays FGC games but never tried Guilty Gear, was very positive.
Maybe I'm overconfident but I feel like with a bit of luck this game could be a hit for Arc System Works.

I don't know why, but I lack a surprised feeling...The character has leaked.
No really
Final chance, don't complain to me for spoiling yourself
View attachment 304275
HELL YEAH THE WITCH *****
It's a Guilty Gear character, I feel that you need to **** up VERY badly to not make these ****ers coolDon't wanna spoil myself but uh
Is it someone cool at least
") .
.Very, very cool. Maybe not a shocker, but a welcome addition to the base roster who looks cooler than ever.Don't wanna spoil myself but uh
Is it someone cool at least
Especially if the final character is a first party. Considering the reception to Byleth, Min Min, and now Pyra, I'm honestly kinda worried for a few people...Sad to see the character has been leaked tbh. In fact I was spoiled by surprised because I was scrolling on Twitter and then the picture popped up
As for the characters, great pick! Never played her a lot on Xrd, I found her hard to use, but from the picture her redesign looks sick.
I'm surprised, I thought she was going to be DLC. AFAIK she's pretty popular.
I've already saw people complaining on Twitter because it's not who they wanted. This is what will happen, but worse, to Smash when we reach the end of the Pass lol
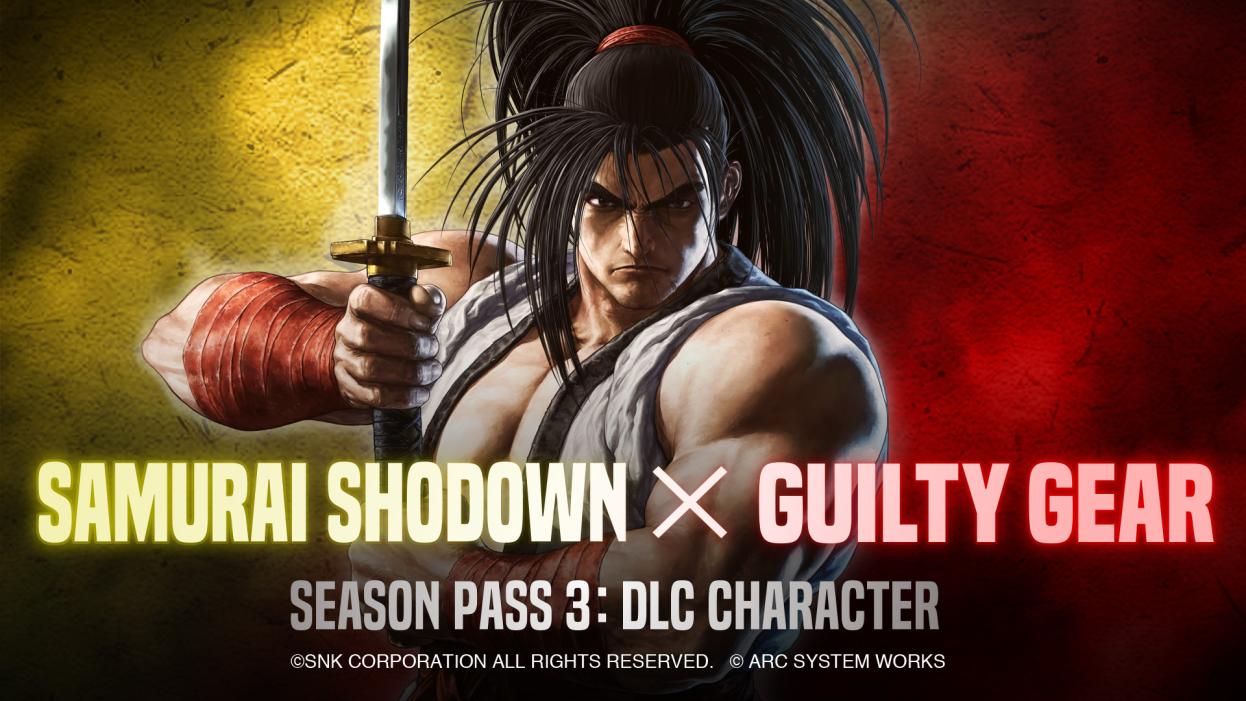
Yep, currently catching up on the roundtable as I was sleeping soundly during the presentation lol.So, it was just announced that Samurai Showdown will be getting a Guilty Gear character. That is certainly an interesting development.
Yeah, the spirits from BB and UNIB are only a thing i want and isnt something that I expected to happen. I don't put Zato or I-NO because I don't know what characters they could use to represent those characters (I'm not a very creative person)imo should Sol get in we'd get GG spirits exclusively, I don't see them pulling off a SNK. I feel Zato, I-NO and Slayer are musts in that department as well.
Zato could be Captain Falcon with a DHD or something to represent Eddie. As for I-No, my first thought is Zero Suit Samus as both adore being in the air but Palutena can also work as Palu's ftilt reminds me of I-No's 6HYeah, the spirits from BB and UNIB are only a thing i want and isnt something that I expected to happen. I don't put Zato or I-NO because I don't know what characters they could use to represent those characters (I'm not a very creative person)
By the way I-NO took me by surprise, I thought they were going to put her as a DLC character and that the last character was going to be Answer or another Xrd character but it is a pleasant surprise at the end of the day
I don't know much about Guilty Gear, but Axl can travel through time, right? Maybe that would explain how he wound up in 18th century Japan. (I don't know if there are any sort of limits on his ability)Yep, currently catching up on the roundtable as I was sleeping soundly during the presentation lol.
They'll totally go for the more Samurai-like characters. So either Baiken, Anji or Nagoriyuki would make total sense. Also, regarding Smash. Hey, SNK did a ton of crossovers before Terry got in, just saying....
Talking about SNK, I know this is a Sol thread and y'all might not be here for this stuff, but Chizuru got announced for KOFXV! This makes me quite happy as that means they'll be bringing over more "long-forgotten" characters from the Orochi Saga. Hyped for the possible inclusion of New Faces Team!
As for Guilty Gear, we know there'll be DLC for Strive, but I just wonder when and how they'll announce it. Guess we'll probably have to wait for release for this information.
Slayer will no doubt appear in the story in one way or anotherBaiken, Johnny, or Nagoriyuki in Samurai Shodown would be so sick. I love that Guilty Gear is crossing over into it. And as I said earlier, I-No is such a badass base roster pick and she looks amazing. Fantastic final roster to the point that I don't even mind my main (Slayer) isn't in yet. Can't wait to jam with the beta soon.
Unconfirmed but Nagoryuki is 💯 Slayer’s disciple:
— Woolie Versus (@WoolieWoolz) February 18, 2021
- Sol’s win quote says his teacher was a better fight
- Zato asks him where he learned such Dandyism
- His casual fallstate, teleport step, poetry reading, laughter & being called a Nightless/Nightwalker
- Bloodsucking Universe
You know, I actually really like that theory! Axl kind of has a limitation to his time-travelling power, there's simply a cost to it. With his time/world-hopping ability there's the possibility that he may destroy timelines in the process. But before Revelator he used to have no control of this power and just randomly slipped through time with no actual consequence. Maybe they'd go with that idea where Axl just randomly slips to the Samurai Shodown timeline? It'd be pretty funny.I don't know much about Guilty Gear, but Axl can travel through time, right? Maybe that would explain how he wound up in 18th century Japan. (I don't know if there are any sort of limits on his ability)

I already did the survey. Asked for more simple lobby visuals, instrumental versions of the new vocal songs, and reduce the damage in the final game.And so, the beta comes to an end...
Hopefully everyone here was able to enjoy it to the fullest as I could. I've had tons of fun and found a new main in Ramlethal. I'll definitely be picking this game up at launch and I am really looking forward to trying both Anji and I-No out. I don't know how I'll be going a full month and a half without it till release. Guessing I'll just play GGACR some more as a coping mechanism lol.
Also, there's a survey for the ones that participated with the open beta, please take some time out of your day to fill it in:
Free Online Survey Software by SurveyMonkey: Closed Survey
This survey is currently closed. Please contact the author of this survey for further assistance.www.surveymonkey.com
「Important announcement regarding #GuiltyGearStrive」 pic.twitter.com/siP46ketuE
— Arc System Works America 🎱 (@ArcSystemWorksU) March 4, 2021
Yeah, I guess it was necessary but the date isn't really good. Granted FFVIIR isn't a full new game or anything like that, but still, releasing your new game in the same week as 2 big Playstation games doesn't feel like the best idea.Man... GG Strive, Ratchet and Clank and FF7 in the same week is kinda ridiculous lmao.
I completely understand the need for a delay, but definitely a bit disappointing since we were getting pretty close to release. Hopefully the lobbies just get entirely reworked.
If you think THAT'S bad, friendly reminder that Monster Hunter Rise, Balan Wonderworld, and It Takes Two all come out on the same DAY.Man... GG Strive, Ratchet and Clank and FF7 in the same week is kinda ridiculous lmao.