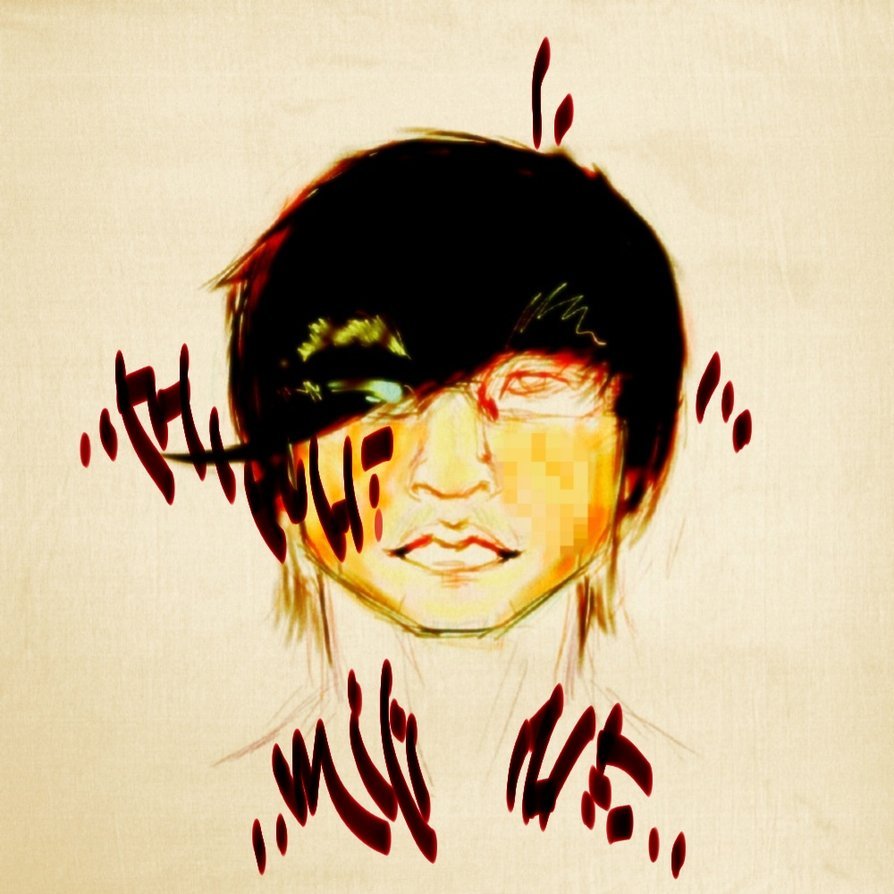
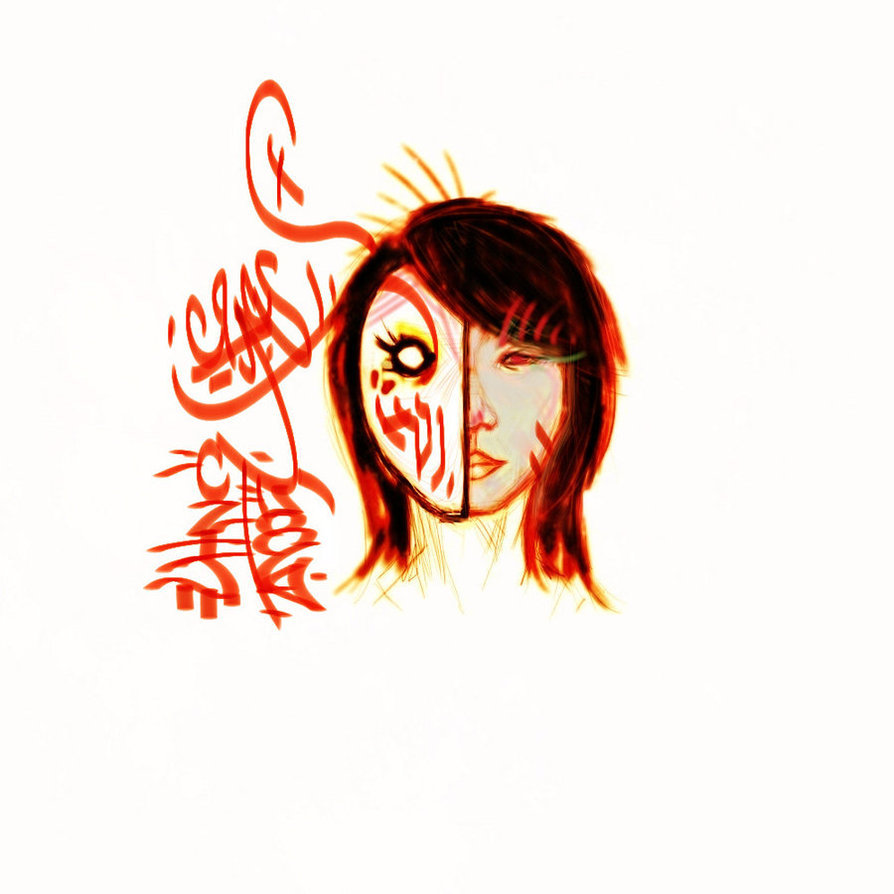
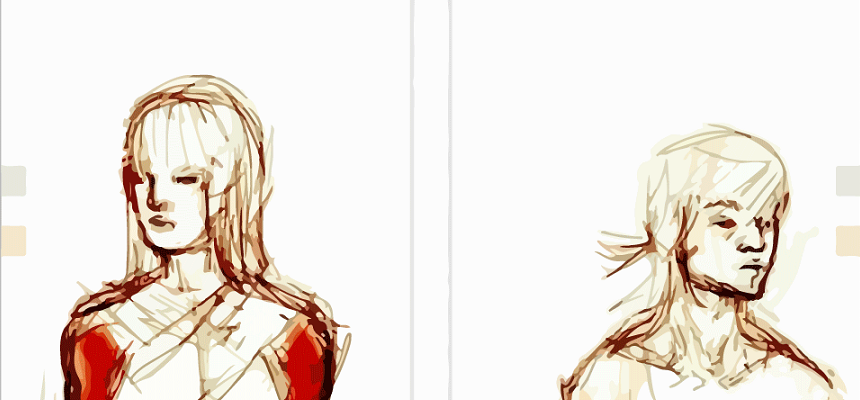
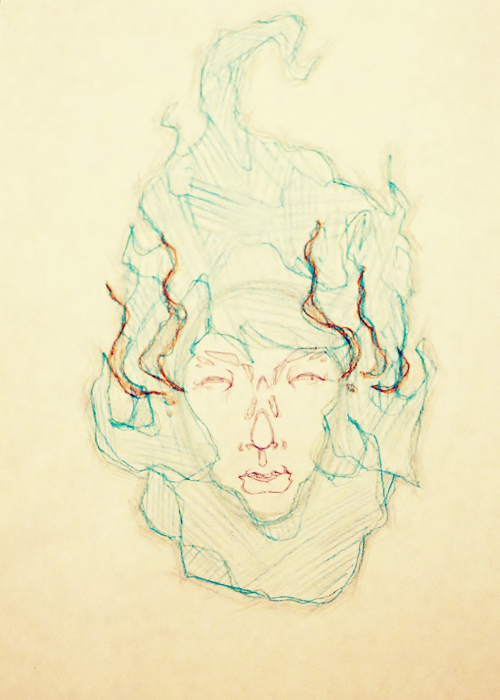
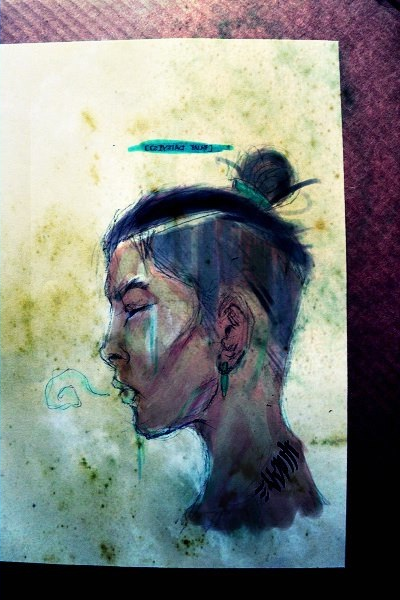
Here's two different painting styles of hair I've done before:
realistic
pseudo-realistic/stylized
So since I've tortured myself in the past by rendering hair follicle by hair follicle, I feel like I have a decent understanding on how to get decent results. The way I do it isn't the only way, obviously, but through trial and error, it's what I've found to be easiest for me.
Firstly, I don't know how far you plan to emulate the style of that hair you showed in your example geo, but if you want to get the best result, get rid of all your lines. Specific styles, like the one you're going for, are sometimes meticulously built to have a certain overall aesthetic. Linework, commonly associated with a more comic book style, would look goofy with rendered, painterly hair, just as a detailed oil painting would look silly if all the hair had an inked comic book look.
You always want to start with a base, something that's just a flat color (hopefully on a separate layer). This base color should be a midtone of your desired hair color. It doesn't have to be a super precise midtone, because there's a lot of tweaking involved anyways. So in your example, geo, even white hair would have a base color that's an off-white (I'd personally use slightly colored grays, it'll give more life and less sterility to white haired characters than a completely unsaturated gray.)
Then with very large, single strokes, with a 40-50%ish transparent brush, determine the flow of the hair using alternating layers of lights over darks. Sometimes I love using a bit of burn and dodge. This can end up making your colors look flat if you overuse it, but for establishing lights and darks, it's just fine.
Don't alternate these layers too many times, just like 3 - 4 layers is fine. End with the highlights on top, because that's how life works, and keep the flow of the hair consistent, but following different lines. This part doesn't actually have to be that accurate, so just focus on highlights and darks as well as general flow direction. Don't detail yet.
Once this is done, break out the smudge tool on a mid/high opacity and go nuts. This is the detailing stage,and the smudge too does a great job of making smooth gradients and borrowing colors in a nice organic way. Start with a large brush, and gradually make it smaller and smaller until you get the desired amount of detail.
*EDIT* I recommend finding hair reference and studying how hair follicles tend to clump together and flow in long shapes, as well as how single strands of hair branch out from those flowing shapes. It's very easy to get a good result with hair if you get this part down well, even just using solid strands of color/shades properly can give you hair that looks really accurate. /EDIT
After you're satisfied with your smudging, add the last definitions with a brush to give sharper details.
photoreal hair and less detailed, more painted hair start at the exact same stage, it's all about how far into detail you decide to go with it with that smudge brush and the finishing details. The hair on my first example started similarly to my second example, but it took about 10 hours longer to do. So detail at your own discretion.
Again, this is how I do it, not how it HAS to be done. I know lokii is also good with hair and has a completely different technique.

