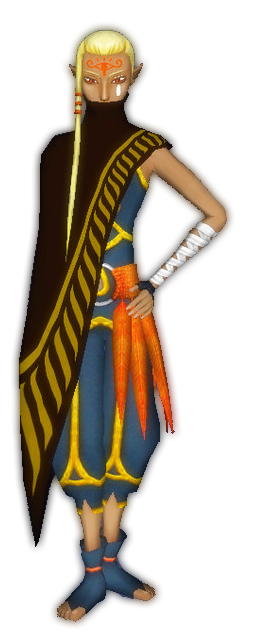
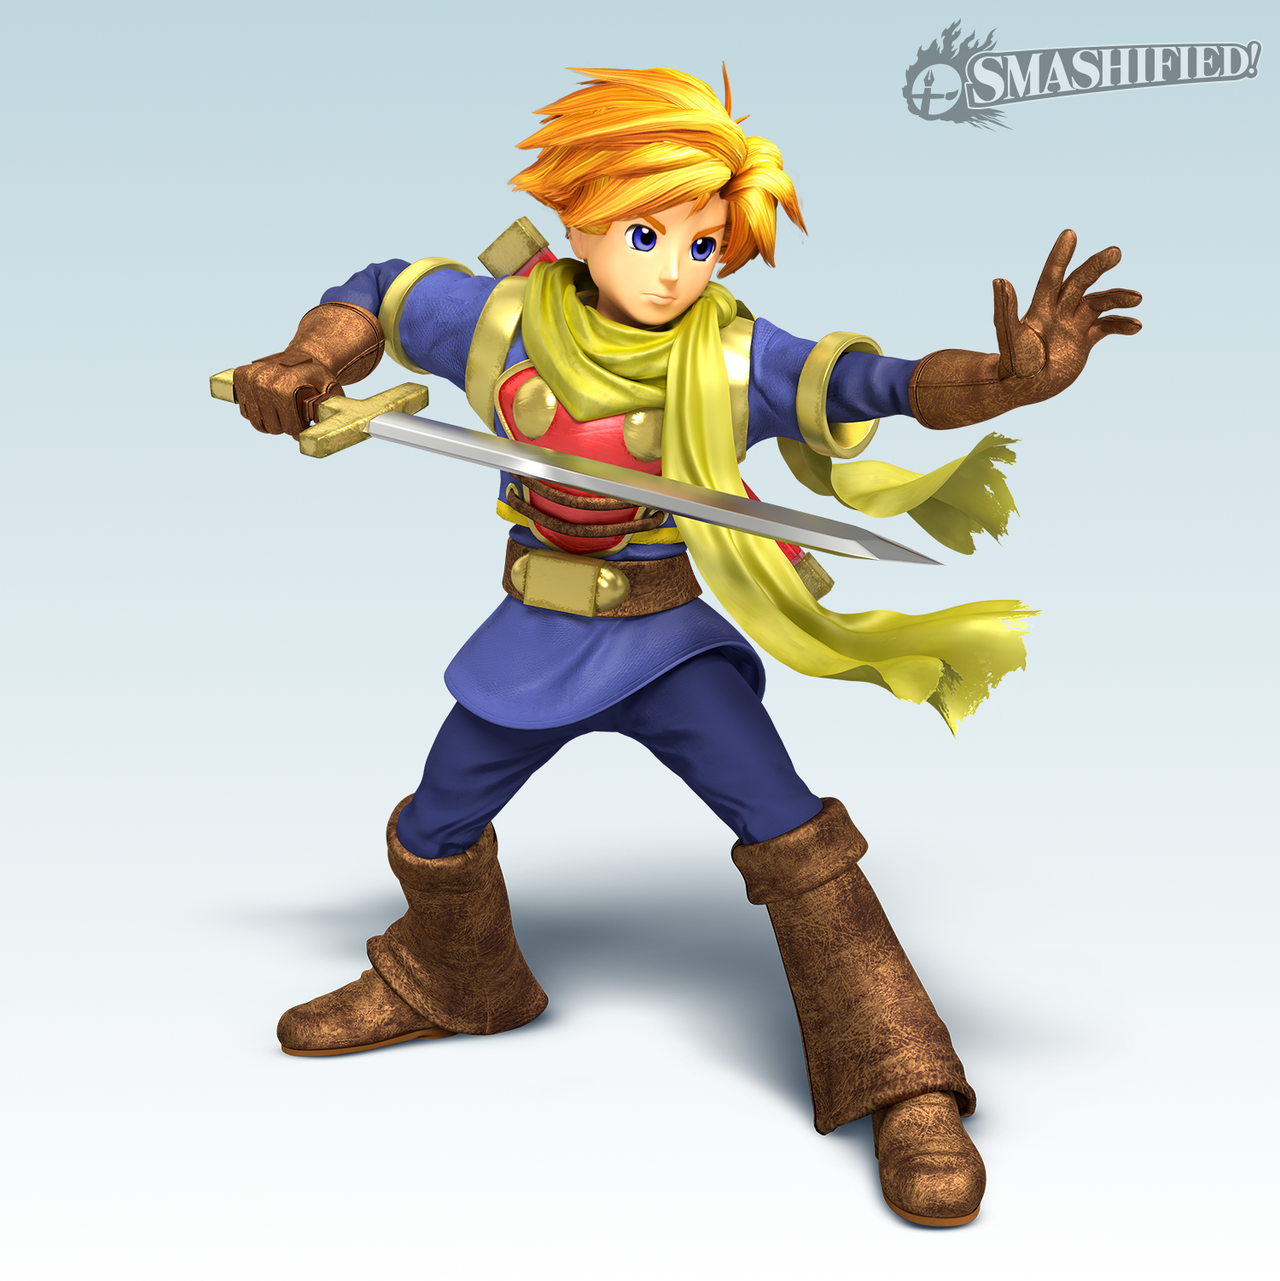
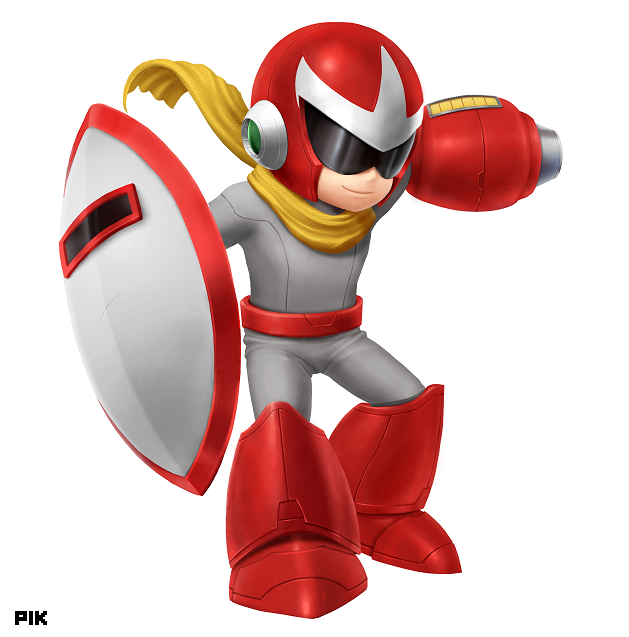
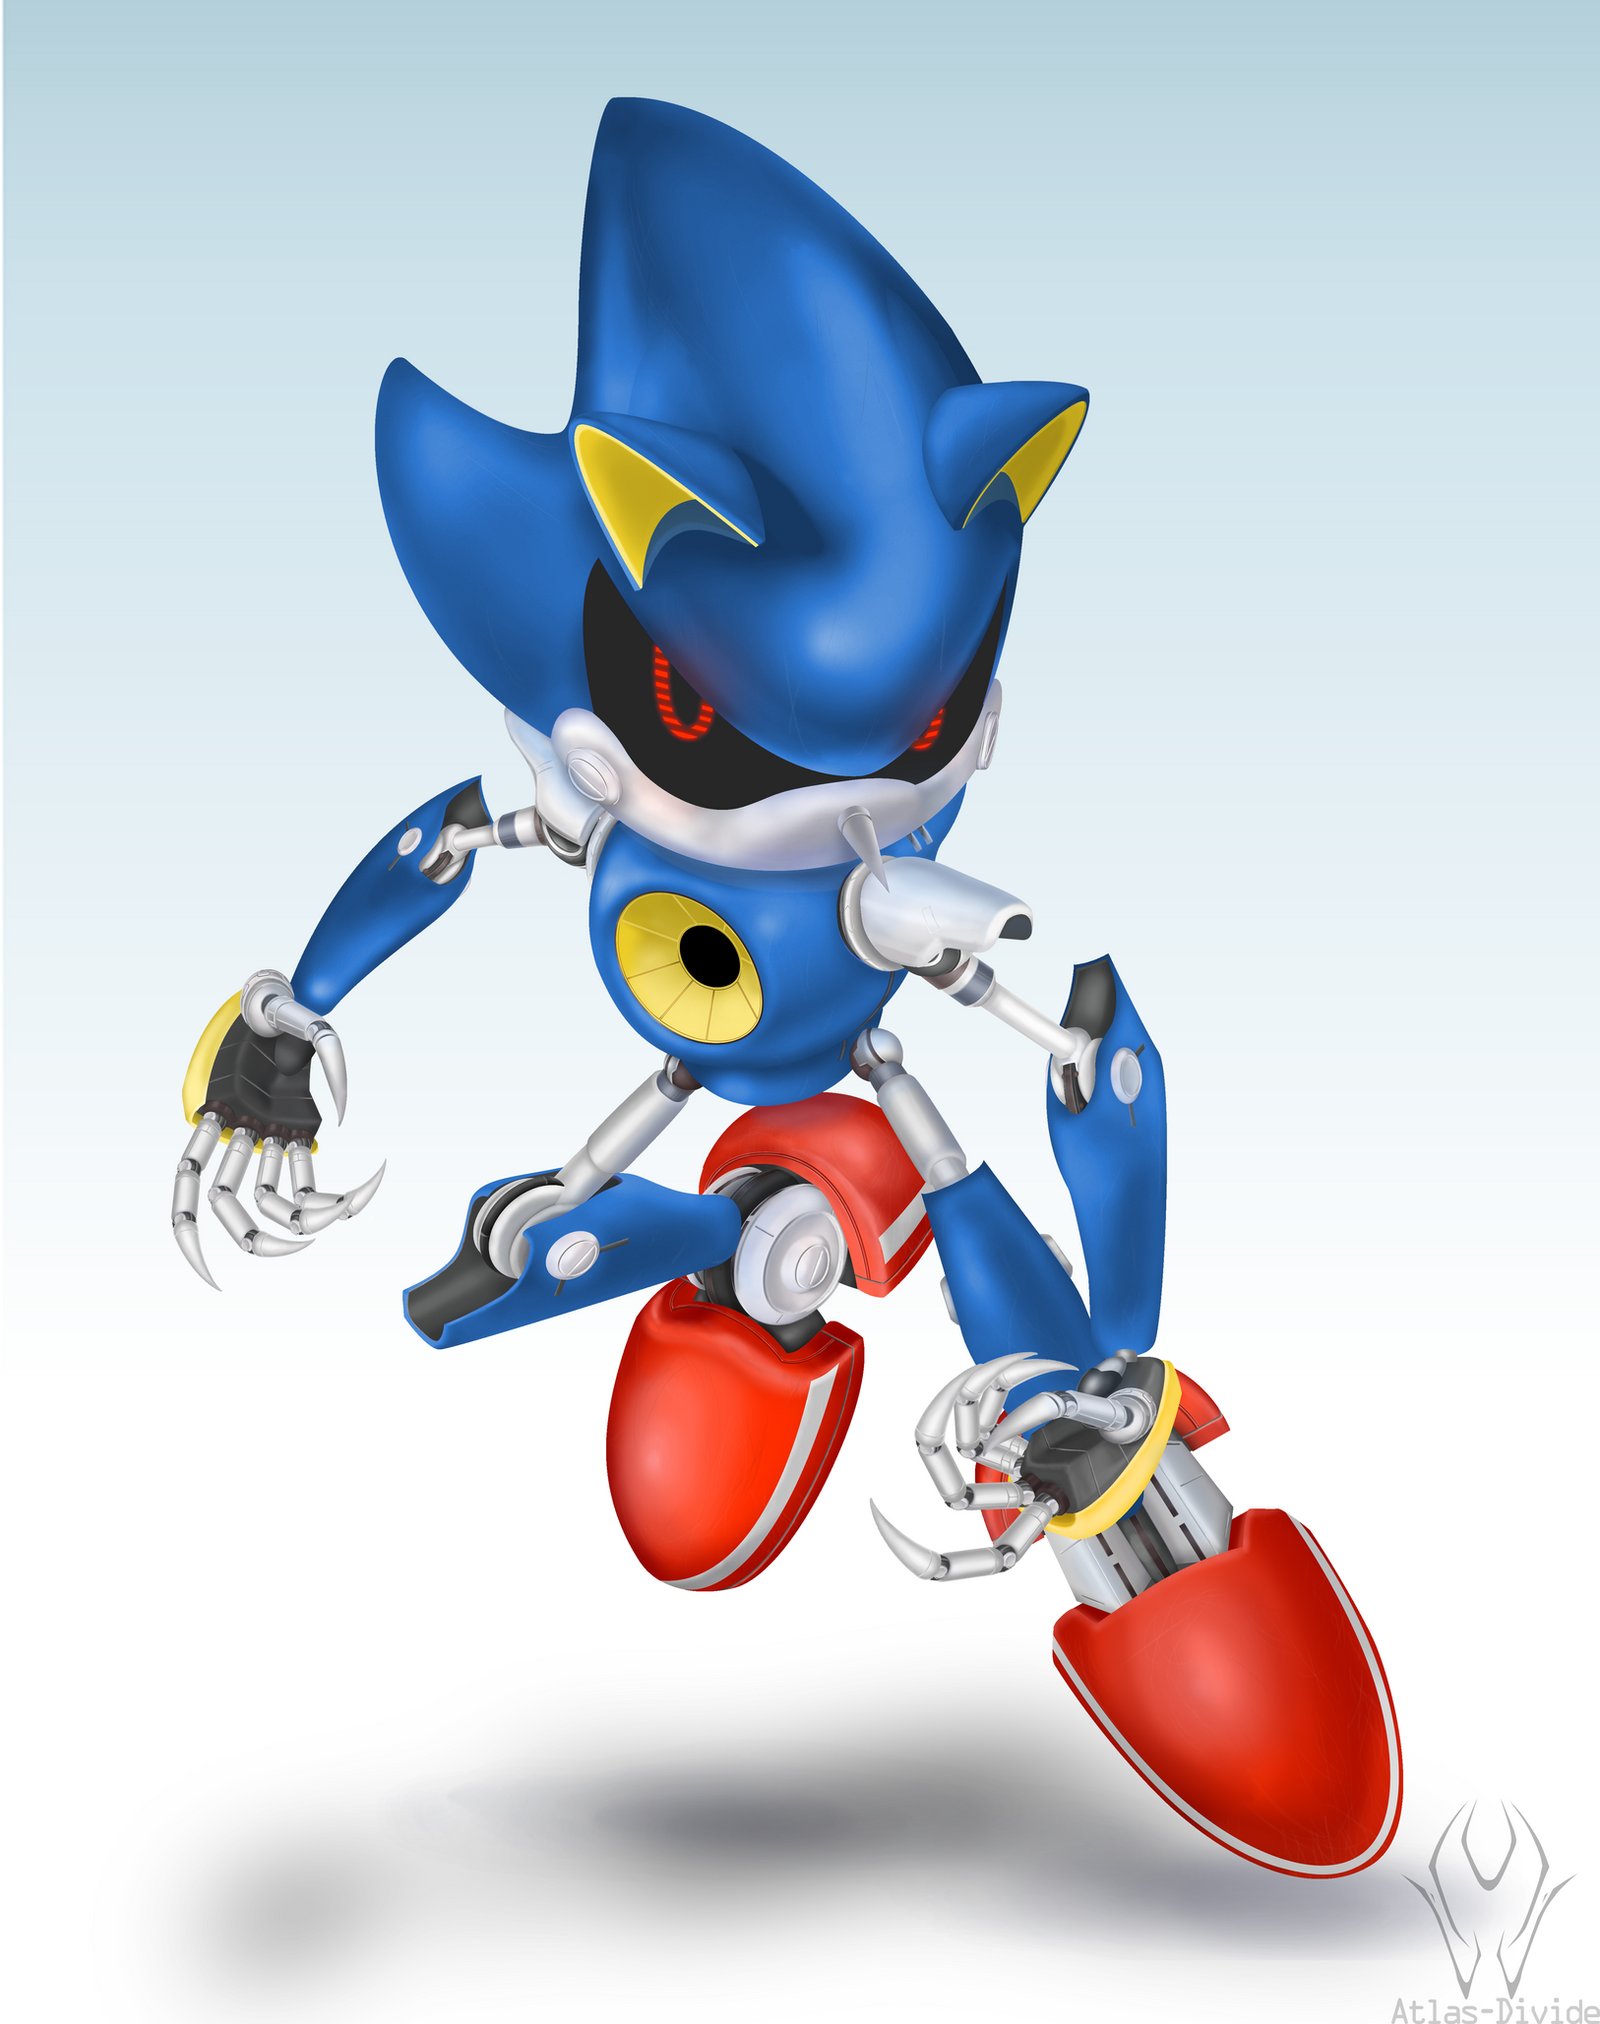
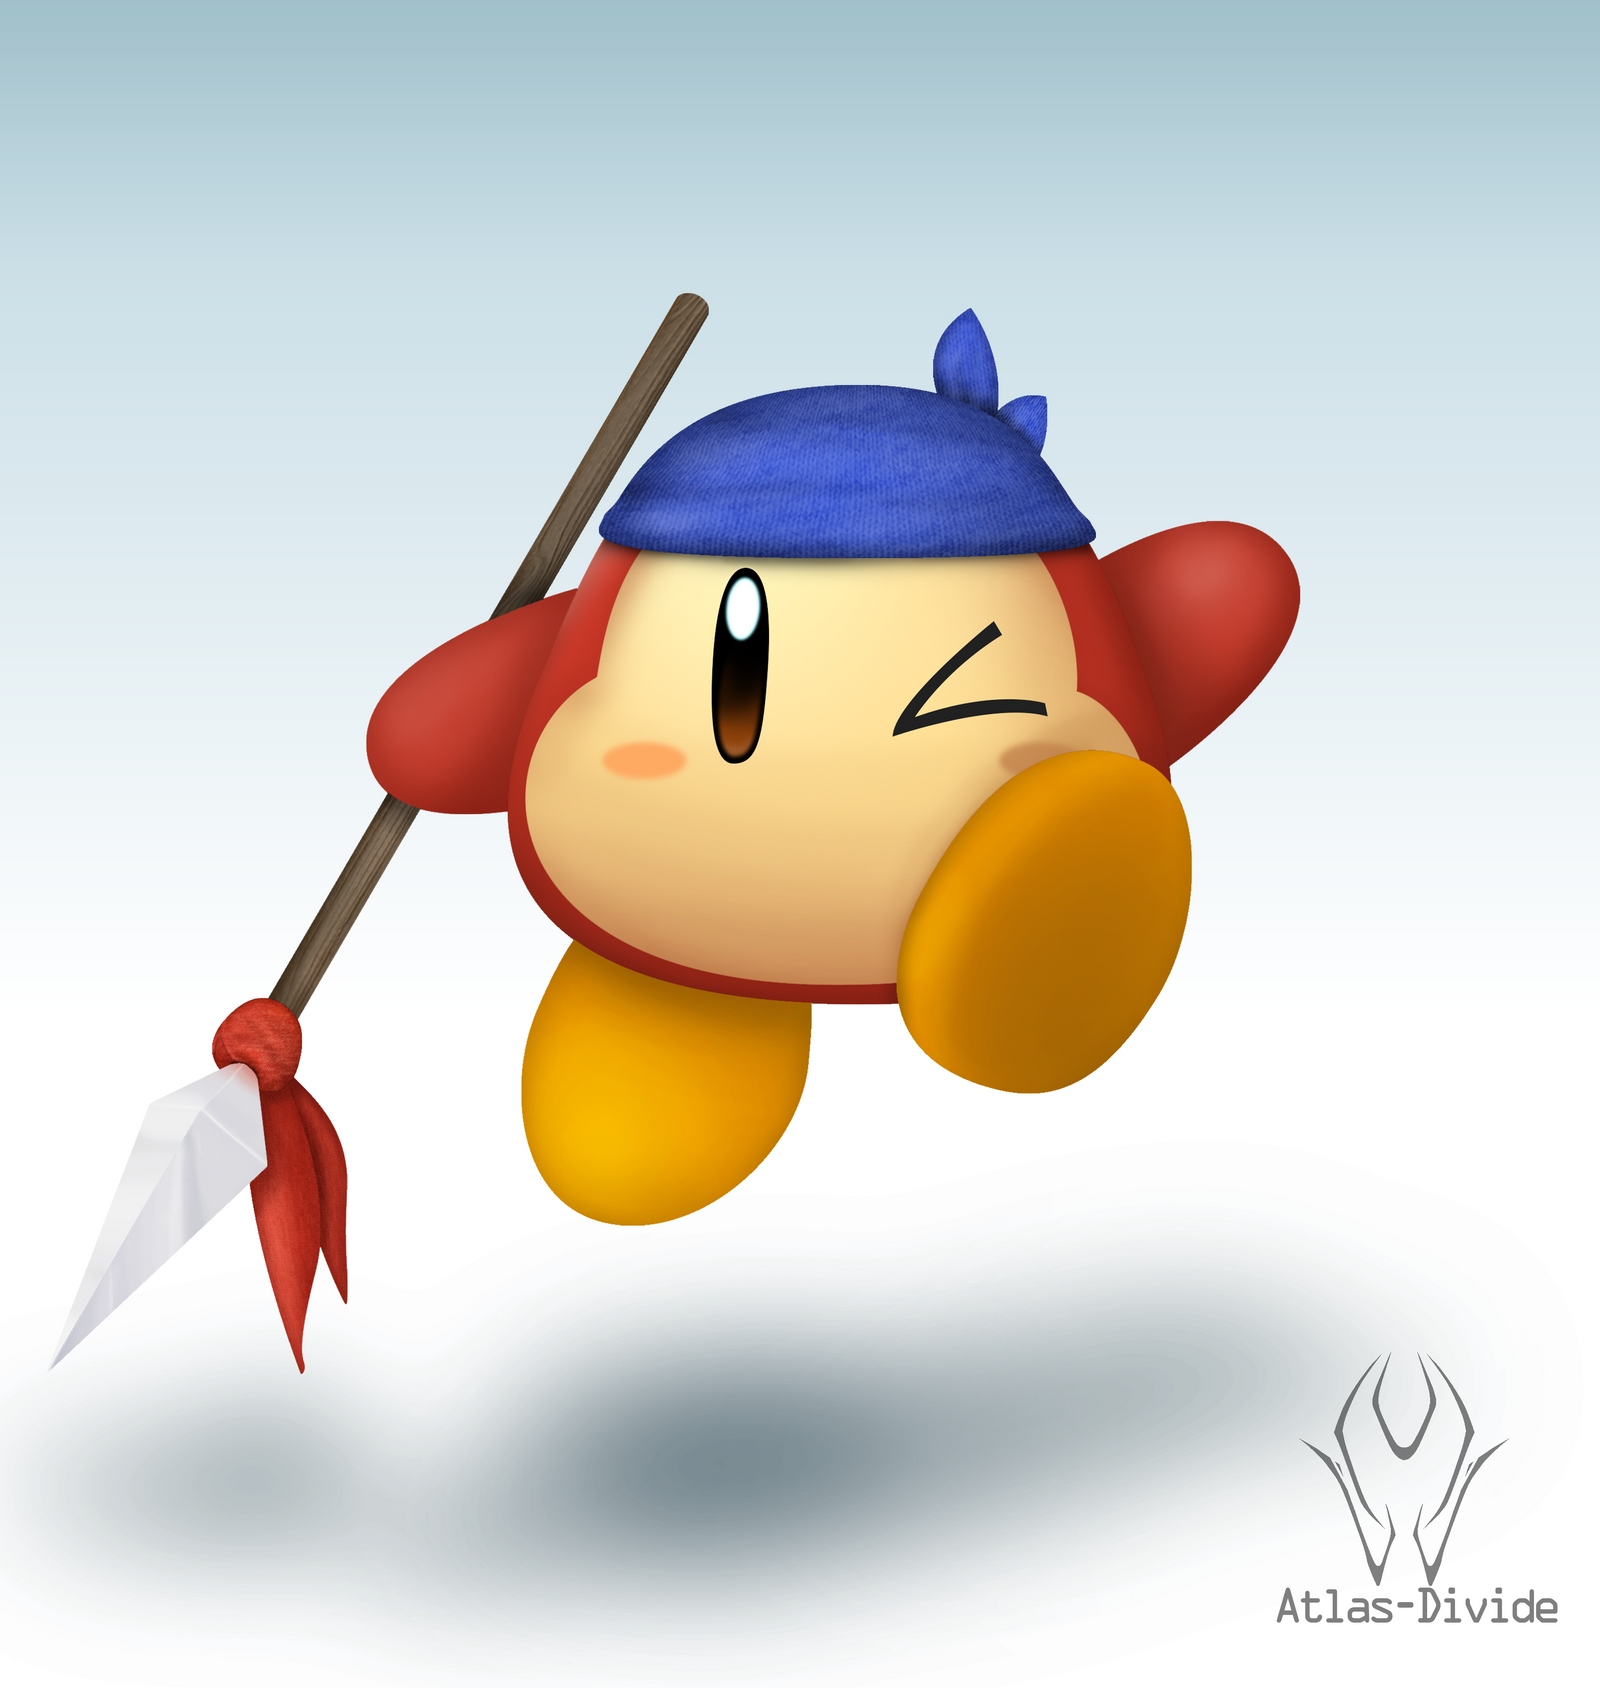
I figured I should make a quick and easy tutorial on how to make good-looking icons for the Roster Maker, since I've been doing that as of late. I'll be using Swoop as an example.
REQUIREMENTS
Paint.NET (or another image-editing program that has similar features)
...and that's it!
STEPS:
1. Find an image of the character you want to make an icon of. This can be done by a quick Google search for that character's name. Copy the image that you choose by clicking on View Image, and then choosing Copy on the right-click menu.
2. Paste the chosen image into your chosen image editing software, and then open the templates for whatever icon you wish to use
in separate windows from the image. It should look something like this;
View attachment 92101
3. Select the head of the image (or it's general vicinity), copy it and then paste it into the icon template, while removing any background parts you need to remove. Make it so the image is cut off by the edges of the icon. Also, make sure not to make the icon image expand to fit the pasted-in image; this is going to make it look bad in the maker itself. It should look something like this when finished;
View attachment 92103
4. With that part done, it's time to get onto the aesthetic glow around the portraits of icons. This is fairly simple to replicate, actually; simply make a duplicate layer of the edited image and apply a glow effect to the duplicate layer with the settings displayed on the following image;
View attachment 92104
Cut out the unneeded glow with the selection tool (that being any of it overlapping the border or nameplate of the icon) to finish off that portion of it, and that finishes the portrait end of this tutorial.
From here on, there's going to be a bit of a problem with using images since this post has hit the maximum amount of images you can upload into one post, but thankfully it's not very complicated, so this will be easier to not screw up.
5. Now that you've cut out the unneeded glow, it's time to put a name to your icon. For this, you of course want to use the letters image provided by the original poster. Copy and paste each letter of the character's name into the black bar, and paste them onto the base image, not any of the layers you have made. If the name doesn't fit, abbreviate the portion that doesn't fit (like how it's "C. Falcon" instead of "Captain Falcon"). That should finalize the icon.
6. Just save it as a .png (not a .jpg, those don't work with the maker!) with it's name as "Icon(character)", where "(character)" fills in for the name of the character icon you have made, and then test in the maker!
















.png/revision/latest?cb=20140717022904)



 Thanks though! They look great.


.png/revision/latest?cb=20151113011437)
