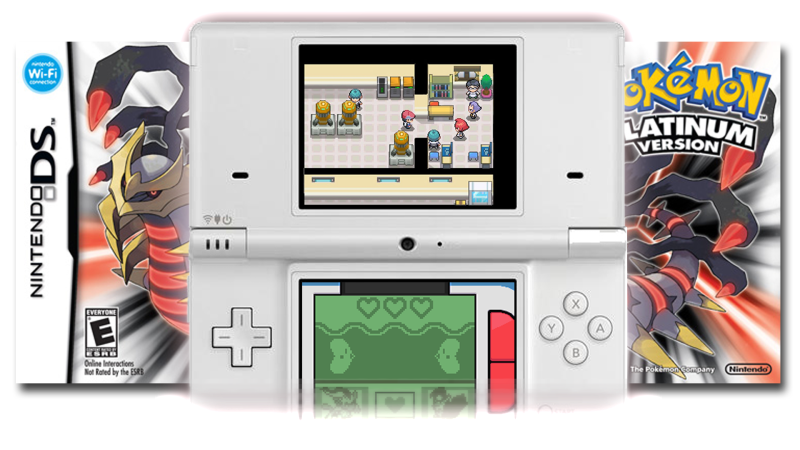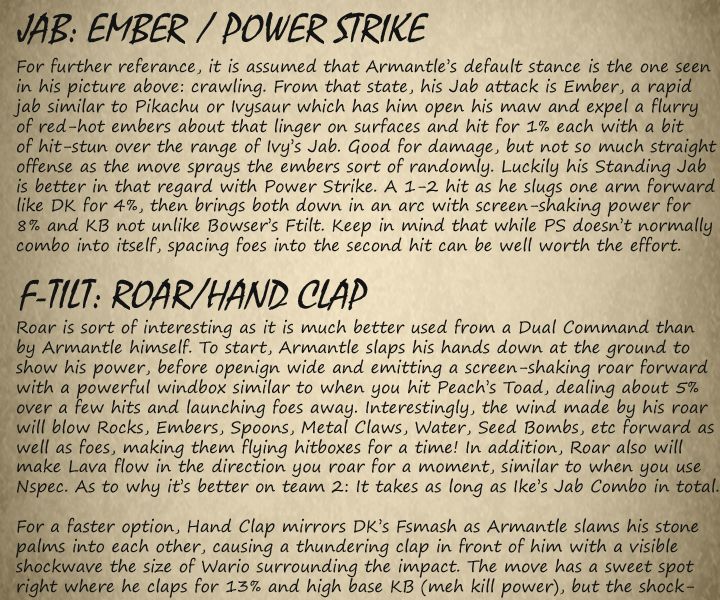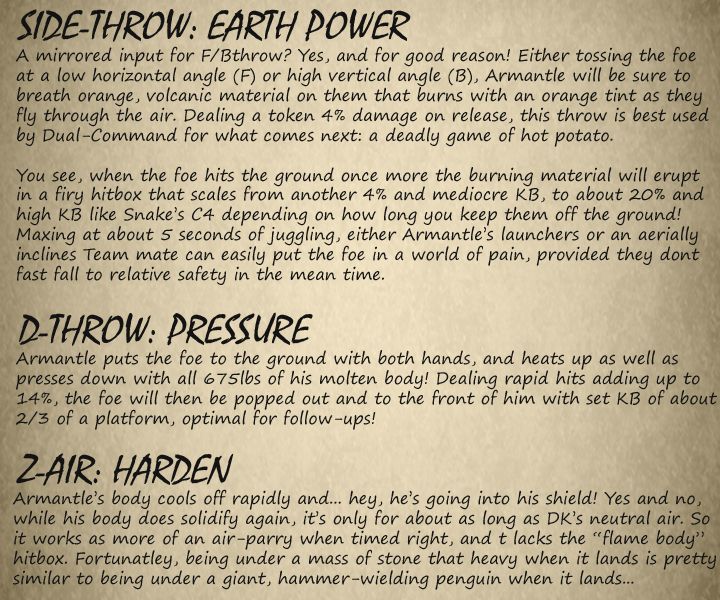
Well, we're here in the latest Generation, and my personal favorite: Black and White! By the time this rolled around, I was already deep into the series again, especially the metagame with Pokemon Online and learning about the "inner workings" of Pokemon, so to speak. The games also saw a revolution in terms of the story (as seen in the first Trainer JOE!) as well as a slew of new abilities, moves and Pokemon, the most of any gen so far! Hmm, speaking of all this metagame stuff, I think we've gone through enough so far to introduce part of the set within the set:
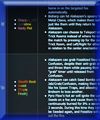
Dual Commands are inputs that can control the Team2 Pokemon's actions while playing as the Team1 Pokemon as JOE! commands the second team with his other hand at the same time as the first. An important aspect of both the next member of the team, as well as gameplay with ATJ in general. There are 5 commands total, and each have their own nuances to keep track of, but mastering these can really give you an edge in teamwork vs the opposition.
Note: Team2 will not perform their Team2 special if within 1 platform of Team1 unless Team1 isn't performing any actions in said range for at least 1/2 a second.
TEAM1 SHIELD :rtrigger:/:ltrigger: = TEAM2 GRAB :zbutton:
Pressing Shield at any distance will have Team2 perform their grab. By default, the Pokemon will then simply perform their pummel over and over with the normal properties unless commanded to do something else during that time. Upon grab-release, the victim has anti-grab armor for 1 second.
If the Team2 Pokemon is airborne, they will perform their Zair. Neutral Air Dodge will also count as a "shield" input for this command.
TEAM1 DODGE :rtrigger:/:ltrigger:+:stick5: = TEAM2 F-TILT :stick6:+:abutton:
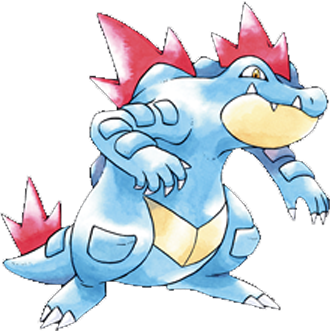
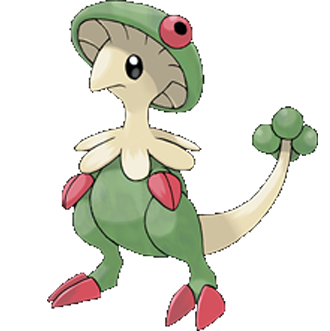
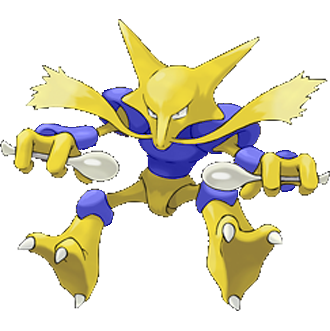
Dodging/Rolling while within a platform of Team2 will have them perform their Ftilt, which can be especially useful with the likes of Alakazam, Feraligatr and Breloom as their tilts are all long ranged (and powerful in Gator's case) to use as cover when rolling past them.
Directional Air Dodge also works for this, and as such Wavedashing near the Pokemon can command them to attack. If the Pokemon is airborne or has the foe grabbed, they will perform their Fair or Fthrow when this command is issued. In the case of the latter, the foe has only a mere 1/2 second worth of anti-grab armor.
TEAM1 TAUNT :dpad: = TEAM2 N-SPECIAL :bbutton:
Inputting a Taunt will command Team2 to perform it's Nspec, no matter the distance. Be wary of the positioning of this however, as laggy taunts of wrong-facing Pokemon can end up being punished hard. The taunt command can be done in the air as well, but will cause the Team1 mon to be inactive for 1/4 of a second as JOE! gives the other his command.
Note: Specials that are either held or charged will have the Pokemon hold it until instructed to do otherwise, with pressing taunt mid-taunt being able to cancel the special. Z is a special case here, as Conversion will select the Top Left color on the selection wheel for the Pokemon in Team1 with him, and then go clockwise from there with each press of Taunt.
TEAM1 JUMP :xbutton:/:ybutton: = TEAM2 THROW :stick7:/:stick9:
If your partner has the opponent grabbed, Jumping within a platform of them will have them perform their Uthrow. Alternately, if you are jumping within range of another throw (Usually Bthrow, but they can Fthrow at times too), they will attempt to throw the opponent towards you with that throw instead. As with the Ftilt command, opponents have 1/2 a second worth of anti-grab armor.
TEAM1 THROW :stick7:/:stick9: = TEAM2 JUMP + N-AIR :xbutton:/:ybutton:+:abutton:
Opposite of the last command, if you have an opponent grabbed and throw them into the air near your Team2 partner, they will jump up and attempt to intercept with their Nair. Depending on the throw, it is also possible to buffer in Fair with a Dodge, Zair with a Shield (you do not give foes grab-armor), or even Nspec with a taunt!
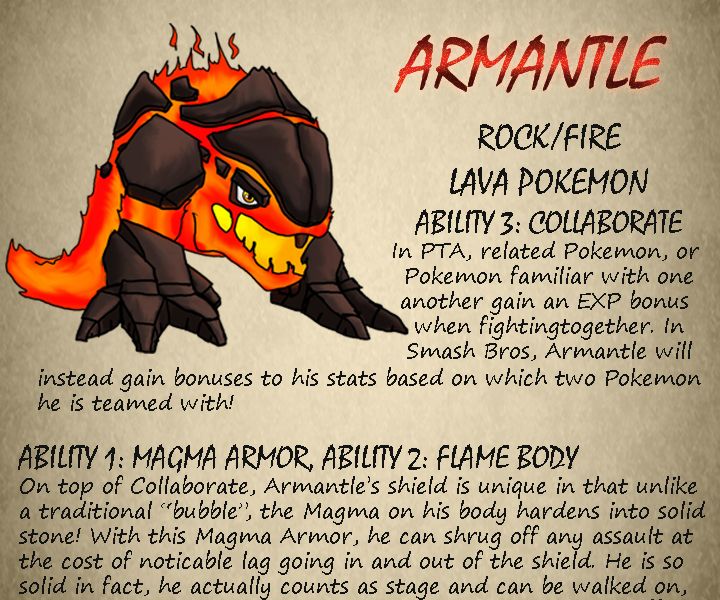
With that all said, It's time to introduce somebody who not only has special Dual Commands of his own, but was also almost in the original Trainer JOE!...
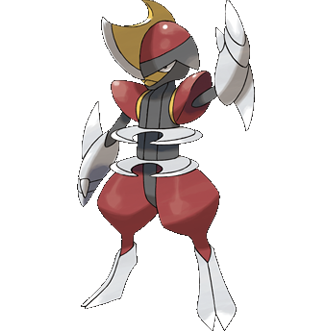
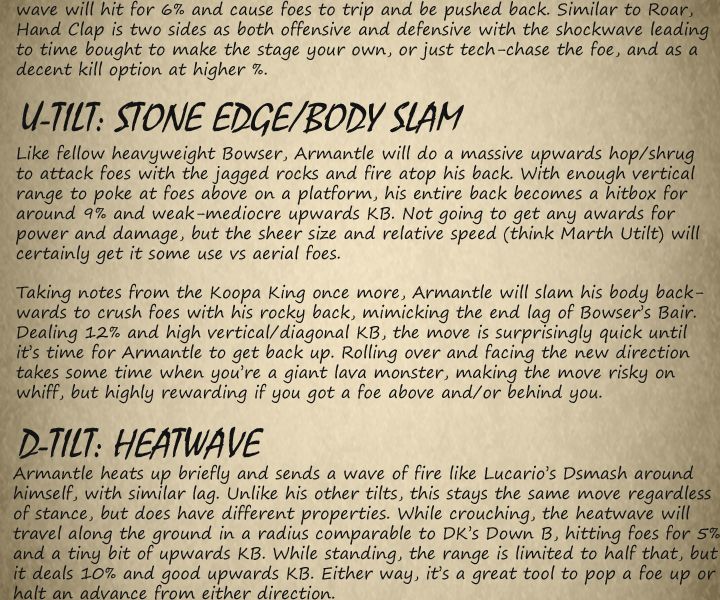
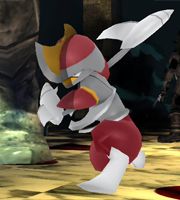
It leads a group of Pawniard. It battles to become the boss, but will be driven from the group if it loses.
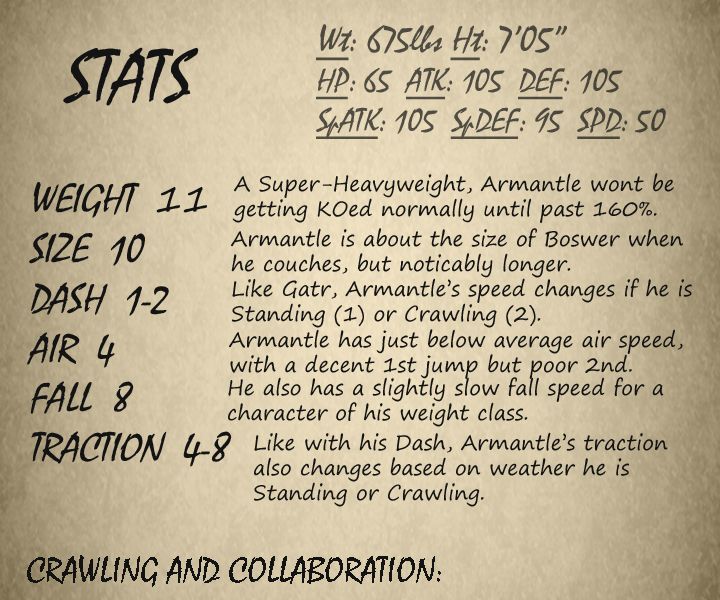
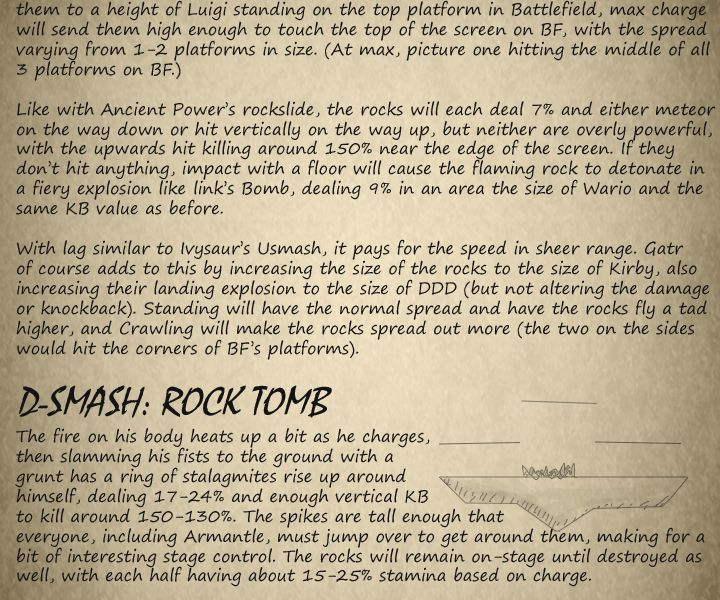
STATS
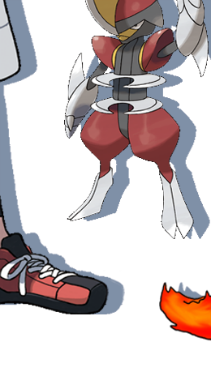
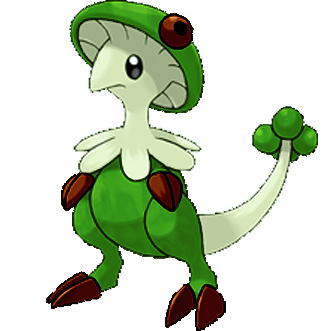
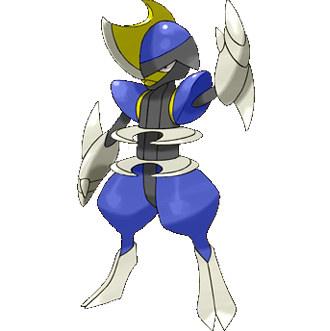
SIZE 6 Bisharp is rather tall, sitting between Ike and Link in this aspect (minus their swords).
WEIGHT 8 Given his metal armor and size, Bisharp is fittingly heavy, and actually mirrors ROB's weight.
RUN 4 Bisharp is tied with Breloom in run speed.
AIR 5 Bisharp has average air speed, and his jumps aren't really much to write home about with both being about equivalent to Link's.
FALL 9 Bisharp has metal armor, of course he's not gonna be floaty.
TRACTION 5 Bisharp also has average traction, allowing for decent wavelands/dashes unlike the previous Pokemon.
Bisharp has mostly average stats, with outliers in both Weight and Fall Speed. Like Feraligatr, his sheer weight will add a lot of staying power to him and allow him to survive well past 100% naturally. Unlike Gatr, his recovery isn't as versatile, which may hamper him slightly in the long run.
NEUTRAL
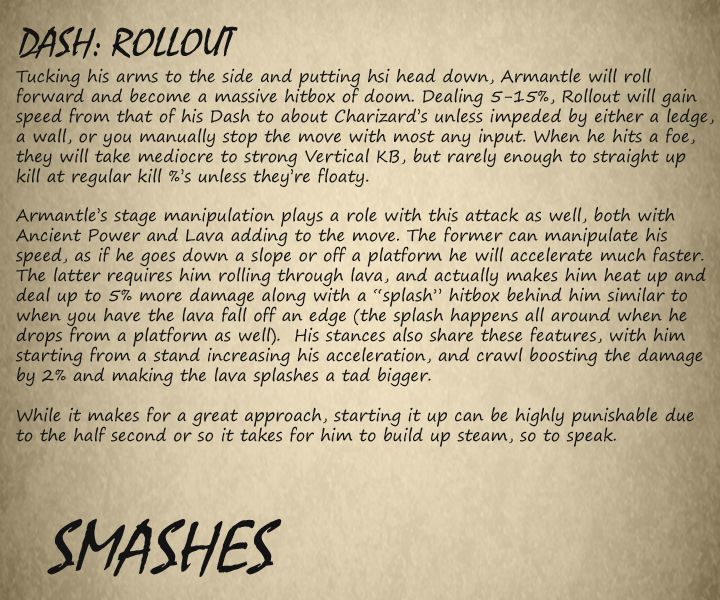
METAL BURST
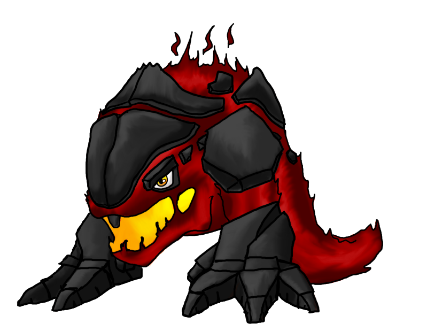
Bisharp goes from his neutral pose to the one seen in his official art above, with the hand raised and all that, as B is held. As the move is charged, Bisharp appears shinier and more metallic as a shining GFX travels up his arm to indicate the amount of charge up till it hits his fingertips after a full second. Once done, he will wipe his arm to the side (also seen above) and take on a metallic sheen and/or flash silver indicating a maximum charge. If you are curious about all the metal talk with the shinier texture and silver flash, well that's because the more he charges the more of a Metal Box effect he gains. Specifically, every 1/10 of a second of charge will gain him 1/10 of a Metal Box effect, ultimately increasing his weight and fall speed by up to 2x their current values, adding 10% worth of Heavy Armor, but reducing his Dash to 1/2 it's normal value.
While taking damage will reduce the timer of your Iron Defense like the normal item (Base of 10 seconds, getting an actual Metal Box will not stack), Bisharp can manually shed the coating by Tapping B to create a shock-wave from the middle of his body the size of Lucario's Dsmash for 10-20% and enough Horizontal KB to kill Mario at 160-140%!
While great on it's own for additional defense, it is amazing when you consider how it stacks with his ability: Defiant. In Smash, Defiant allows Bisharp to both keep his focus while clashing with an opponent's attacks by allowing him to "Parry". Parrying has a small window of activation just as you clash with an attack, during which you can send out another attack (or the same one) without any start-up lag, and half the ending lag! On top of this, attacks out-of-shield are 1.2x more damaging to allow him to counter those who try and give him any pressure. When combined with Metal Coat Defiant can allow him to simply plow through other attacks using the Heavy Armor even as he clashes with them, resetting the foe as he continues attacking, and even use up his Metal Burst charge by parrying as he clashes and causing the attack to deal 1.4x the normal damage on hit!
Given the shorter range on most all of his attacks, Bisharp's ability to parry and deal more damage from shield is something very important to adapt to while playing him, especially when you can build up some armor and choose to make your counter attacks all the more devastating.
SIDE
METAL CLAWS
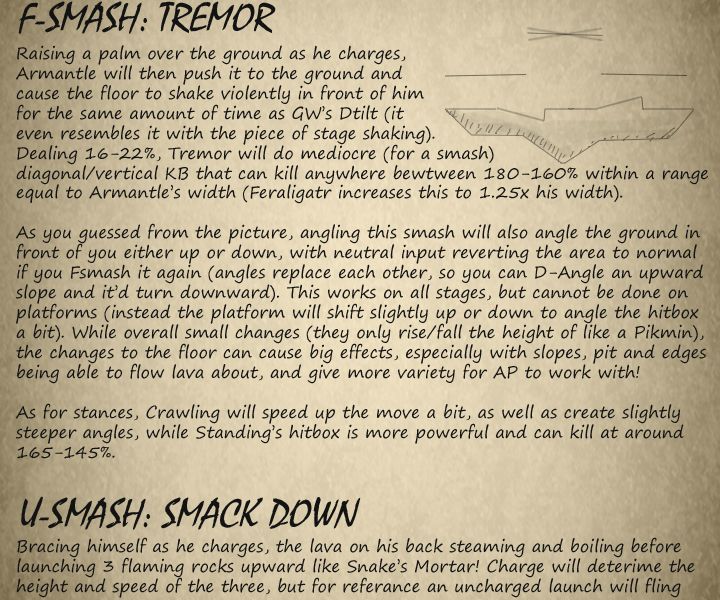
Bisharp reaches to his chest and pulls out a circular blade that looks a lot like one of his Torso-Blades, and tosses it forward like a frisbee from hell with speed like Toon Link's Boomerang. The blade itself travels as fast as one of Shiek's needles, and will curve back to Bisharp with great homing ability after traveling a maximum of 3 platforms, hitting foes for 5% and some hit-stun, before ricocheting off of them and back to Bisharp. Bisharp can have two of these blades out at once with one of them having to return to his body to toss another, and can angle the toss at 45* intervals.
Speaking of ricochets, the Metal Claws will ricochet off of anything, including platforms, opponents, and each other! While they return to him automatically after ricocheting off of something (unless they hit more stuff on the way back), Bisharp's own hitboxes can hit them back out easily for more spacing and damage opportunities!
UP
NIGHT SLASH
With start-up of about 1/4 of a second as Bisharp brings one of his arms to the side in a "ready" position, you will then move in the direction pressed during this time at speed similar to DK's run speed, much like a Spacy Up-B, and hit anyone in your path for 5% and mediocre KB as you cut a dark trail in the stage about a character length behind you that can hit foes as well. Once released, Nigh Slash behaves more like one of Sonic's Spin-dashes than a Spacy Recovery as you can move back and forth, and even jump by pressing Up as long as you hold down the B button for up to 2 seconds before skidding to a halt with noticeable sparks from his steel feet. Releasing the move will also have Bisharp bring the "dark" blade forward for a final slash as he skids to a halt, dealing 10% and stronger, but still mediocre KB unless he releases directly on top of a foe, in which case the Night Slash will deal 15% and strong enough KB to kill Mario vertically at 150% or lower depending if you jumped with it.
If you start this move in the air, Bisharp will lunge forward in the direction chosen about the same distance as Lucario's Extreme Speed, but with slightly less angle-ability in exchange for the damage. Ending Night Slash mid-air will put him into Special Fall. Unlike all his other attacks, Night Slash is actually Transcendent, meaning it is exempt from his Defiant-Parry system (though it still does more % out-of-shield).
TEAM 2 / DOWN
SUCKER PUNCH
If any hitbox is present within 1/2 a Platform of Bisharp as he activates this special, he will lunge out at 2x his dash speed in any direction as he homes in, as well as 10% heavy armor (stacking with Metal Burst!) to rip at the offender with a 12% hitbox that leaves a black "tear" effect on the field like with Night Slash, able to kill most foes at around 130% near edges.
Unlike other counters, this can be evaded if you move more than a platform away from Bisharp as that's the max distance he'll lunge, as well as just move sporadically/shield/roll just in time. Or, given that it has essentially the same end lag as Falcon's Side B on whiff, it's equally as punishable if Bisharp messes up his prediction. That said, this makes for an amazing Team2 maneuver given the opposition most likely won't be watching for a surprise attack from Bisharp while dealing with the controlled Pokemon. By himself, Bisharp can also lure Foes into this with Metal Claws in order for them to try and approach, only to then hit them with this and maybe even chase with Night Slash.
NEUTRAL
FURY CUTTER
Alternating swipes with his blades, Bisharp will slash at a speed comparable to Wario's jab in a loop of: Horizontal Right, Vertical Up, Horizontal Left, Vertical Down, repeat, indefinitely as long as you tap A. Interestingly, each swipe only does a mere 1% with hit-stun unless you end up hitting something, at which point the next swipe will hit for an additional 1%, capping at 5% per strike! While it might not sound like much, each hit will add up very quickly if the foe stays put.
Metal Claws are best bounced back with this move, and when they hit, they count as a strike to add damage!
SIDE
BRICK BREAK
Bisharp pivots counter-clockwise and slashes his left blade forward in a "backhand" like fashion, traveling forward a character length as he pivots around. The hit only deals 8% and a small amount of KB, but it's speed and range make it ideal for following a parry, especially when you can angle it. Especially useful when you use it to parry by itself, as you can move forward twice, or if the opponent tries to defend themselves seeing as the backhand from the blade will deal 2x shield damage as it hits with the hook of the blade (40/177hp to be precise).
UP
IRON HEAD
Mimicking DK, Bisharp swings his axe blade down in a huge vertical arc that covers above and directly in front of him for 12% and strong diagonal KB.
His slowest tilt (again, DK side B), it at least leaves a huge hitbox above himself to clash with aerial approaches, since in Smash4 they'll be bringing back the ability to clash with those, haven't you heard?
DOWN
LOW SWEEP
Bisharp swings his legs out while digging a hand into the floor to use as a pivot, swinging himself out like Mario's Dsmash and hitting for 6% and low vertical KB. Extremely quick, it works great as a counter to then hit a foe with any of his other standards as it can pop them up or parry other "pokes" easily.
DASH
CIRCLE KICK
Bisharp speeds up just a tad as if you pressed dash again and flings his body head over heels to strike out at foes in a devastating double-kick maneuver. Acting as sort of a reverse sex kick, the hitbox as he flips hits for 8% and is rather lackluster in terms of power, whereas the aerial stomp forward deals 13% and has enough horizontal power to kill a foe near 130% at an edge. After the kicks he lands in a crouch position as he skids on the floor with a bit of end lag.
Similar to both Ftilt and Utilt, the moving hitbox is perfect for intercepting attacks to make use of your unique spacing game. Delving deeper, you remember how he dashes again to get the momentum for this? Well, that momentum also carries over to Dash-Attack-Cancel maneuvers! DACUS, Boosted Grabs, and Boosted Item Tosses will travel very far and have a cool "skid" effect when Bisharp uses them, and interestingly he can also Jump-cancel this move, giving him about 50% more air speed than your average dash-jump.
DUAL COMMANDS
MULTI-SMASHES
As stated before, Bisharp has some unique Dual Commands with his smash attacks. No matter the distance, when Bisharp begins to charge a Smash, his partner in Team2 will perform said smash! Thanks to his experience as a pack leader, the other Pokemon will take some command from Bisharp and look to him for combat advice, which allows for this. That's not to say Bisharp's smashes aren't special on their own though, as you'll see they each come with a dark side-effect...
SIDE
VENGEFUL SLICE
Bringing both bladed arms to the side as he charges, Bisharp will unleash a 3-part frenzy of slashes forward with each tap of A, much like Link's Fsmash. The first two hits are each diagonally downward slices in front of him, taking a step between the first and second and dealing 7-10% each, with surprisingly light KB for a smash. The third hit has Bisharp stab both arms forward for 10-14% however, taking another step and hitting hard enough to start KOing Mario around 135-115% near edges.
As you may have assumed, this has multiple hits for a reason: Parrying. You see, if Bisharp uses this to counter an attack with one of the first two hits, the next hit will not only be faster, but make him take a quicker step to extend the range as well as dealing the same increased shield damage as Ftilt (anywhere between 35/177 to 70/177 shield damage) regardless of whether nor not the opponent is shielding the attack! Noticeable from the sparks flying from his blades once continued from a Parry, Bisharp will make sure to punish the foe for trying to test his blades by lowering their defense significantly.
UP
TYPHOON'S EDGE
Taking an arm to both his front and back as he charges, upon release Bisharp will jump and spin his body in a deadly pirouette as all the various blades on his body hit repeatedly for a total of 18-25% and KB similar to Samus' Dsmash when Bisharp lands, sparks flying from his feet as he skids to a halt.
Taking as long as Mach Tornado when tapped to perform, the intense spinning caused by Bisharp hopping to the air will actually pull foes in towards the blades with strength like DDD's Inhale! Once sucked into the blender, landing with Bisharp will spike foes down into their prone state, forcing them to get up in some manner which can lead to a delicate tech-chase situation.
DOWN
PAYBACK
Crossing his arms in front of him as he charges, Bisharp will then swing his arms behind him, slashing for 8-11% and mediocre KB, and after a brief moment swing both arms blade-first outward in front of him to rake at foes for 10-14% and KB that can kill diagonally at 140-125%. Although Usmash may take a bit longer overall, this is usually considered his slowest smash due to the pause between hits, making it as slow as Wario's Dsmash overall.
That said, the pause is actually beneficial to Bisharp as he has Super Armor during it! If a foe were to strike him during the pause, he will immediately lash out with the second hit with visible "dark" trails like with his specials. This indicates that the foe now has Bleed Damage, as well as the feint black slashes over their midsection. Bleed Damage will deal 1% every 1/3 second for the next 5 seconds to the victim, and 1/4 of a second is added per every successful strike by Bisharp thereafter. If planned right, this can be an amazing way to punish foes through sheer damage alone.
NEUTRAL
AERIAL ACE
Bisharp does a diagonal Slash in front of himself for 4%, a Kick for 5%, then swings in a 360* arc with his head-blade for 6%. Each hit does weak KB, except the spin which does mediocre KB in the diagonal the foe got hit from. Like in the games, it is near-impossible to avoid the myriad of attacks thrown out here, and it's a great tool for a variety of situations for Bisharp including intercepting other aerials, and just general combo set-ups.
FORWARD
X-SCISSOR
Bisharp crosses his arms before lashing out in an X slightly diagonally down before him. Lingering a moment and hitting for 7% and mediocre KB, hitting at the exact point his blades cross (indicated by a few sparks) will deal 14% and high horizontal KB, enough to kill Mario at 120% off-stage! If you don't want to kill just yet, the sweet spot isn't active for a moment which allows Bisharp to put on the pressure well enough with the initial hit, and doesn't come out at all if you L-cancel the move. The large hitbox and placement makes this a good option for air-to-ground parrying.
BACK
SLASH
Bisharp turns around mid-air with a Diagonally upwards slash from his right arm at a speed comparable to Wolf's Bair. Hitting for 11% and with enough KB to kill at around 130% at an edge, Slash is great for aerial conflicts due to both it's turn-around and speed, as well as how Bisharp actually reaches out for the slash with range comparable to MK's Dair (if turned sideways).
UP
DUAL CHOP
Slashing one blade above his head in a small arc, Bisharp swipes the other as the first retreats in one fluid motion to create a long-lasting hitbox that hits 4x for 4% each hit, one for each blade either swiping in or out. If a foe manages to get hit by all 4 hits, the last will have vertical KB similar to Yoshi's Uair and able to kill off the top at higher %, but otherwise this can be of great use when attacking foes from below platforms, or when hopping up from below the edge when recovering.
DOWN
BUZZSAW DROP
Making a "T" pose, Bisharp will spin rapidly like with his Usmash and fall a short distance before regaining control. The drill does up to 22% damage total, and interestingly will not cancel unless you complete the animation mid-air, or manually L-cancel the move. Short Hopping this will allow Bisharp to remain spinning on the ground (with the neat sparks GFX at his feet) until the attack is done, really putting pressure on the foes!
PUMMEL
ASSURANCE
Bisharp has a rather unremarkable grab, and his pummel is no better at 3% every 1/3 second as he smacks the opponent back and forth with his hand.
If the grabbed victim is taking any sort of damage while grabbed however, such as bleed damage or Team1/2 attacks, Bisharp will instead stab the wound with his metal hand repeatedly, causing 5% every 1/4 sec instead!
FORWARD
FOUL PLAY
Bisharp delivers a vicious headbutt with his axe blade, stunning the foe for a moment as they clutch their face (like with the Curry animation) for 4%, and as they're stunned he has just enough time to deliver a grounded X-Scissor to them for 6% and high horizontal KB, but generally not enough to kill until very high %. At least the X-Scissor can hit multiple targets.
BACK
SAWMILL TOSS
Bisharp hooks the opponent with one of his blades and takes them for a ride: spinning twice at a different diagonal each turn like with his Dair and Usmash before launching the foe either straight or at a diagonal based on your input during the spins. While Bisharp winds up, his various blades slice up both the foe and anyone around him for a total of 12%, but neither this or the throw have any real knockback power to speak of as the flung foe has a set KB of about 2 platforms, with very little added on with %.
UP
FLING
Letting go of the opponent, Bisharp will perform a flip-kick to their chin that sends them vertically for 7% and surprising KB that sends them flying hard enough to start KO'ing off the top around 140% when you're on a platform, and lower the higher you go. While fairly standard for a throw, the flung opponent also serves as a handy tool for Bisharp, as they act like a projectile with a hitbox for 3-13% and decent KB depending on their weight as they travel upwards.
DOWN
BLADE-DROP
Bisharp rolls backwards with the foe in tow, landing on his back as they fall face-first into his torso blades and take some nasty damage, 9% with Bleeding! As the foe gets knocked behind Bisharp in a reeling state, he performs his standing-tech to get back up and hopefully keep on the foe to keep them bleeding out.
ZAIR
FAINT ATTACK
Bisharp's Zair is somewhat unique in that it works like a traditional Zair, except without a tether. Pressing Z instead will have Bisharp flash black like with his Special Darkness slashes, and phase slightly like Lucario's Double Team. As this occurs, he is also seen bolting forward up to a Platform's distance in a pose reminiscent of Fox/Falco's Side B for 6% and light KB to those he touches at the end of it, unable to perform it again until he touches ground. Like with all Zairs, if used after/during an air dodge, he will special fall after the animation finishes, and like with Tethers he will snap to an edge if in range, though it's significantly shorter than both normal Tethers and Night Slash.
Unlike other Zairs however, Faint Attack itself can be canceled into either an Aerial, Air Dodge, or Jump (if he hasn't already) while giving him his max air speed right away, making cool things such as Fair > Faint Attack > Cancel into Bair or another Fair possible. Mastering this Zair can be a real boost to Bisharp's overall mobility in the air when used right, even taking in his fall speed and mediocre jumps into account.
UP
METAL SOUND
Bisharp runs his blades against each other slowly, creating a really cool "Shhhhhiiiinnngg!" noise. If an opponent is within a platform of him as he performs this, the noise will make them face him if they weren't already, unless they were performing any sort of action.
SIDE
TAUNT
Bisharp raises his hand up, then waves it in front of his face while mocking the foe with "Bish..... arp", the latter as he ends the taunt (sounds like something else at first, huh?

). Like with Metal sound, this will make foes turn to face him, except it has half a platform's range but with a guaranteed turn-around towards him if the foe isn't doing any sort of attack that moves them like Wolf's Fsmash.
DOWN
SCARY FACE
Bisharp does the kind of thug "thrust" forward with his face and shoulders as his eyes glint, saying "Sharp!" as he does so. Like all his taunts, this will turn the foe's attention if they are within half a platform of him, but unlike the other two, this scares foes and makes them turn away from him.
These effects aren't really vital to his gameplay at all, but at least they're fun to mess around with if the foe wasn't paying attention.
Bisharp is the tactician of the bunch when you boil everything down: using quick, short movements, tricky moves, clashing parrys, shield play both vs his and opponent's shields, and spacing/priority in general to get the edge on the opposition.
That said, it never hurts to play dirty with him. Setting up foes to approach you with Metal Claws is what most Bisharp strategies start off with, but running in with Night Slash or Faint Attack can work too, but those two don't buy you a little time to charge up Metal Burst. From here you essentially keep baiting and punishing attacks, hard, and take full advantage of Dual Commands to send out long ranged smash attacks, sending foes into your aerials, or shielding just for your partner to grab, then charge a smash out of shield so that it's stronger. The options for **** mo... excellent team combos are nearly endless given the nature of Bisharp's attacks to keep foes at bay in order for you to position everything just right to finish them off. Even on Team2 he's a menace as any attack geared toward your controlled Pokemon can be met with a Sucker Punch to the gut from Bisharp, swinging the momentum in your favor once more (especially if sucker punch clanks, holy crap...). Essentially, Bisharp being on the field turns the game almost into a chess match with both you and the opponent having to think twice and out-predict the other due to his dark blades and commanding presence being able to change the flow of battle off of just one misjudged attack.
TEAM OPTIONS & SUPER SMASHES:
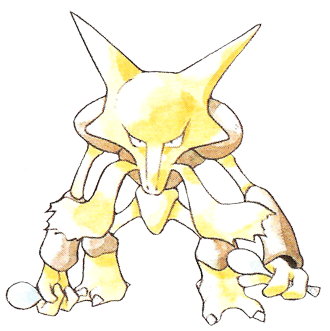
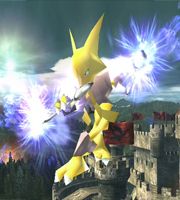
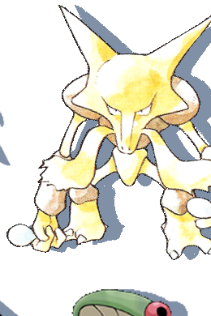
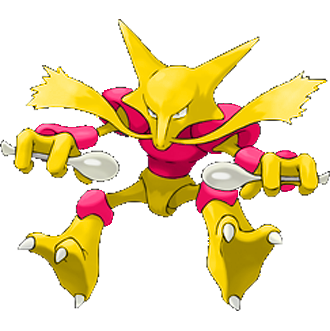
WITH ALAKAZAM : GUILLOTINE
This super smash requires a foe to not only be within range of the pair in order to work, but also be -between- them, it's definitely worth it though.
Once initiated, Alakazam will hold the foe in place with confusion, them visibly struggling as Alakazam recedes to the background slightly with Bisharp walking away from the two, up to a Platform away unless A or B is pressed, otherwise he'll start the attack once he reaches max distance. Once a platform away, Bisharp will raise his arm up in his signature pose and glance back at the trapped foe with a glint in his eye, before dashing back with both blades leaving dark trails like with Night Slash, striking the foe for 20% and high KB normally, unless you manage to tap A or B -just- as you touch the foe. In that case, the crossing blades will deal an incredible 40% with base KB rivaling Jigglypuff's rest. Yeah, they are pretty much toast at that point.
Unlucky for you, Alakazam's grip weakens as the foe struggles, with them being able to escape with normal grab difficulty and turning Bisharp's lunge into a normal Night Slash for all intents and purposes. This is where interrupting the move may come in handy, as although it's at it's best when Bisharp has the time to prepare the move fully, manually striking will hit for 7-14% and have either mediocre or "decent" KB depending on the distance and f you hit A/B at the right time.
Timing is crucial for this Super Smash Killer to work, as not only is the clock against you with the foe being able to escape (better wrack up that damage!), Alakazam and Bisharp can only attempt to do Guillotine only once per 2 minutes, and that's with the other requirements!
Alakazam works *very* well on Team2 in this pairing, with all his throws, smashes and Ftilt (more on that in the next set!) working extremely well with Bisharp's normal game-plan. An especially mean trick is to Dsmash or Usmash in close proximity, as the respective multihit moves will trap foes perfectly to be hit by the finishers that follow. Other than just meshing well with their "bread and butter" so to speak, Bisharp can really have fun with Metal Claws with proper spacing, as hitting them off of Alakazam's Reflect against an opponent, only to then bounce of him, back to the opponent, and back to Reflect, etc, can really frustrate a foe into making some stupid decisions, and maybe make them face the Guillotine for it. Alakazam may be seen in the backdrop more often than playable due to his relative frailty, but depending on the situation he can really take the spotlight with his ability to switch places with Bisharp to mix up both of your positioning, and Sucker Punch in general making foes weary of trying to punish Teleport.
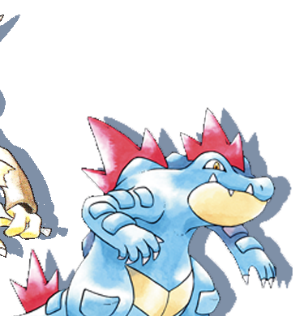
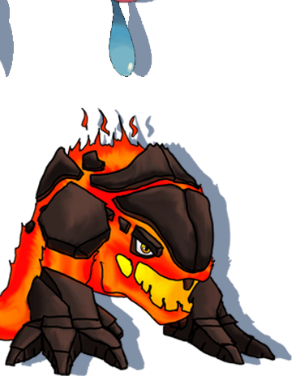
WITH FERALIGATR : HONE CLAWS
Bisharp and Feraligatr face each other and swipe their claws/blades at each other, making clank/shing noises and visible sparks. Once that is done, you will notice that each of their hands now have a "glint" to them for the next 15 seconds. What does this mean? Well, they both just sharpened each other's attacks to now activate Bleed Damage on every attack (except any pure-water hitboxes like Hydro Pump (moves that can hit with Gatr's body will still do bleed damage), and any non-blade moves like Dash Attack). A truly fierce combination, the effect is even put on pause if one of them switches out, the timer resuming when they're in play!
Unfortunately, Hone Claws can only be performed twice per match with a little "blade" ammo indicator next to the playable Pokemon's portrait when both are on the field. Make use of the effects wisely!
This pair is best played apart from each other, and with constant switching involved as Bisharp's ability to send out a foe to be Fsmashed by Aqua Tail at range, or Hydro Pump pushing a foe in range of Sucker Punch is just too good to pass up. Making use of their various burst mobility tools, the two should try to keep ample space for the foe to be juggled between them and to make use of throw commands from the two, especially Hydro Cannon > Pretty much any charged smash of your choice. Unlike most of Feraligatr's pairings, this one is really up to preference on who gets more playtime over the other, especially when they both can get Hone Claws.
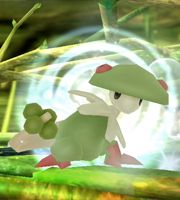
WITH BRELOOM : ASSIST
Bisharp will do a short hop only to lunge forward with Faint Attack, and cancelling it into a Dair as soon as he's at the opponent's position. Otherwise he'll just do Dair at the end of it. Once Dair hits, depending on his distance from the ground he will Lcancel and immediately perform Usmash, continuing his re-inaction of a living Buzz-saw and absolutely tearing into the foe. During all this, Breloom is of course free to launch leech seeds at the trapped opponent to get free heals for Bisharp as all the hits add up to % gained, or add to the offense by using him as a spinning substitute of pointy death to charge up a Focus Punch behind, and hitting the prone foe left behind!
Like all assists, this can only be done every 5 seconds.
Bisharp and Breloom work best when they stick very close to each other, with Bisharp usually in front of Breloom as commanding him will almost always reach through Bisharp to hit foes with Grabs, Leech Seeds, Seed Bombs (especially funny when his taunts turn the foe around to get seeded in the face (smirk) ), Mach Punches, and even his Grab all reach past Bisharp's width. This can be abused either way as with Bisharp in front, Breloom is free to just do his cool fighting shenanigans with a Sucker Punch/Ftilt/Grab safety net he can attack past for protection, and support while Metal Bursting with leech seeds. An especially potent trick is to have Bisharp grab a foe then Dynamic Punch them fully, the increased pummel + free hits from the multi-jab can totally ruin somebody's day. Like most of Bisharp's pairings it boils down to preference, but be careful with these tow as while they like to stay close, that opens them up to both being hit and sent offstage, their least favorite place to be.
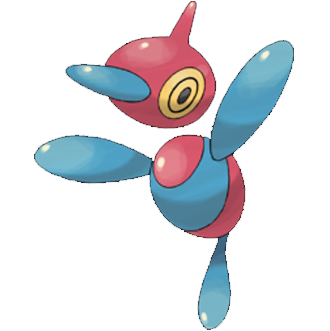
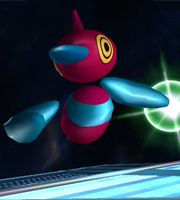
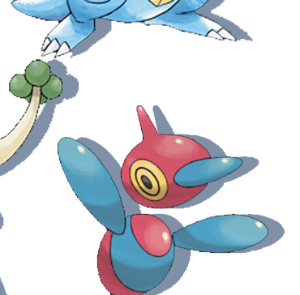
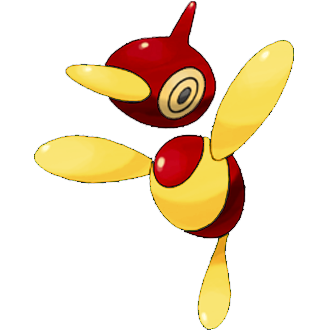
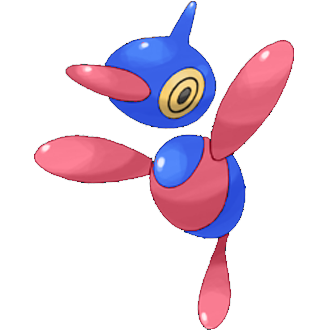
WITH Porygon-Z : SHARPEN_APP
Z creates a mini-trick room before him, only for Bisharp to slash at it with his dark energy, turning into a black, D20-shaped object that floats in place, and resembling a Smash Ball in size. When hit by melee attacks, the warped trick room will send out 3-10 pixels depending on the strength of the attack, that actually home in on enemy targets and hit for 1% each and some hit-stun, traveling as fast as Metal Claws with near perfect homing within a Platform's distance. This "App" lasts indefinitely, but only has 75% stamina before it shatters in a small explosion for 10% and mediocre KB. Hitting it will also push it away a bit in the direction the attack would normally send the object, and yeah bigger hits move it slightly more.
This Super Smash is great not only for the two of them by supplementing their ranged game, but also for the 3rd team member who wants to give it a go (such as Breloom who can hit it fast and from afar!). Unfortunately, Z only has enough juice in him to make 4 over the course of a match.
Porygon-Z definitely takes a back-seat here as Bisharp shreds the oppostion, using not only SHARPEN_APP, but Z's awesome projectiles (Air Cutter, Dark Pulse, Flash Cannon) to confound the foe to fall prey to Bisharp's tricks and punishes. The fact that Trick Room slows down foe reaction is a god-send to Bisharp as well, given that he can really just take his time to play with his prey as they try to fight back once he's got the positioning he wants. Just be careful with Bisharp given his pretty limited recovery distance, or you'll find your trick rooms being used up more often than you'll like.
Oh, and remember Z's weird Fsmash? Well, that's a perfect move to launch foes back towards Bisharp with here! Really, Z goes all out on the "Support" role here and unlike Alakazam, doesn't have much business being in the foreground once he's set up the field for Bisharp to command.
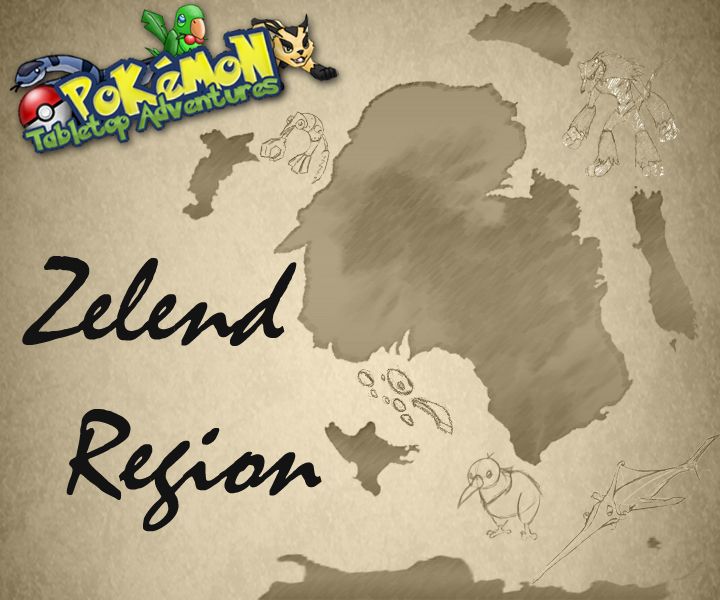
Well, we made it through all 5 generations! Next up is a brand-new Pokemon from my own Zelend region, maybe you can guess it's type from the clues in Porygon-Z?