• Welcome to Smashboards, the world's largest Super Smash Brothers community! Over 250,000 Smash Bros. fans from around the world have come to discuss these great games in over 19 million posts!

    You are currently viewing our boards as a visitor. Click here to sign up right now and start on your path in the Smash community!

refubashing a stick

sharksquail

Smash Ace
Joined
Jan 10, 2009
Messages
515
Location
ATL ITP
Has anyone here ever managed to refurbish a worn out stick themselves? I've tried the strips of paper and super glue method, but couldn't get it to work.
 

Stormcrow2

Smash Apprentice
Joined
Apr 5, 2009
Messages
180
Location
Northern IL, USA
I actually opened up the stick on one of my controllers yesterday. Gave a much needed cleaning, and lubricated it lightly with some vaseline. While this doesn't really make the stick better, i'm sure it will make it last longer. The plastic rubbing against the black swinging bars is what makes the stick deteriorate, i think. For me, it was specifically the x-axis bar swivel that was worn out. The y-axis on my control stick looked perfect, after cleaning it. Cleaning it out will also help if your controller sticks. The stick should spring back to the middle after you move it to one direction and let go. It gets worse if there's a lot of crap inside the stick box. There was even a few little hairs inside mine... not sure how they get in there, it was pretty gross :dizzy:

As for repairing the actual stick to it's original functioning, not sure if it actually works/is worth it. I saw somewhere online of someone using epoxy on the worn out plastic. I guess it's worth a shot if you don' want to buy new sticks for $8 or however much they cost.
 

hamburglar

Smash Journeyman
Joined
Dec 10, 2007
Messages
435
Location
Binghamton, Ny
^ i heard liquid lubricants are pretty bad for the joystick

nintendo uses a type of powdered lubricant in the sticks. when you use a stick a lot and that white film-like substance starts showing up around the base of the stick, that is the lubricant. most people think it's from grinding plastic or wearing down the inside components of the joystick
 

Stormcrow2

Smash Apprentice
Joined
Apr 5, 2009
Messages
180
Location
Northern IL, USA
That may be true, but the original lubricant probably also eventually loses its effect. When I opened mine up, there was so much crap gunked up on it, and it felt very slightly lubricated, but not enough to keep the plastic from wearing down in spots. Vaseline (petroleum jelly) is like a jelly, and I applied it very lightly. If you were looking at the insides of the stick from a foot away, you couldn't tell I lubricated them. I don't see how it could hurt. Air can't really get to it, so it won't dry up, and like I said I applied a very little amount. I just wish the sticks wouldn't wear down so easily :/ but with games like super smash bros. and mario party, I guess there's not much we can do to prevent it.

I'm about to resume work on modding my SuperPad64 with gamecube joystick. I just bought a coil of solder and already have the octagonal base where the joystick sits cut, so that there's no inner part of it (giving it room for the large gamecube stick to go through). I'll see if it works after rewiring the gamecube stick. If it works, then all I have left to do is figure out how to mount it to the casing of the controller and reposition the z-button on there as well. I'll let you guys know the progress and post pics of the final product if it works, if you're interested.
 

Grizzmeister

Smash Lord
Joined
Jun 23, 2009
Messages
1,098
Location
North Carolina
NNID
Grizzster
I’ve restored dozens of Nintendo 64 controllers but sometimes they’re just too far gone to be brought back. The problem is exactly what Stormcrow2 described in that friction causes the plastic parts of the analog stick to literally wear away leaving just that white chalking residue behind.

I wish Nintendo or somebody would release a kit to restore the analog portion of the N64 controller as you’d really just need 4 plastic parts and a new spring. Oh well, maybe some industrious person on this site will contact Nintendo and beg them to start selling those parts at a reasonable price. :ohwell:

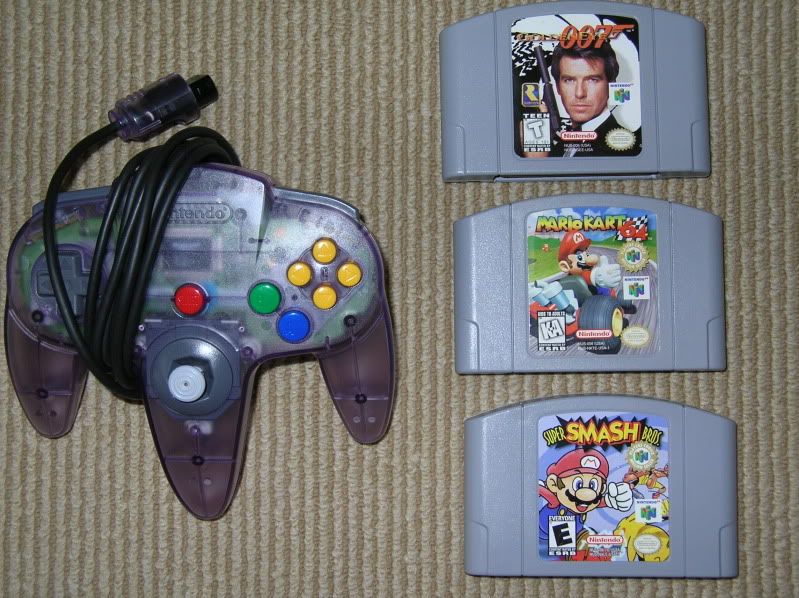
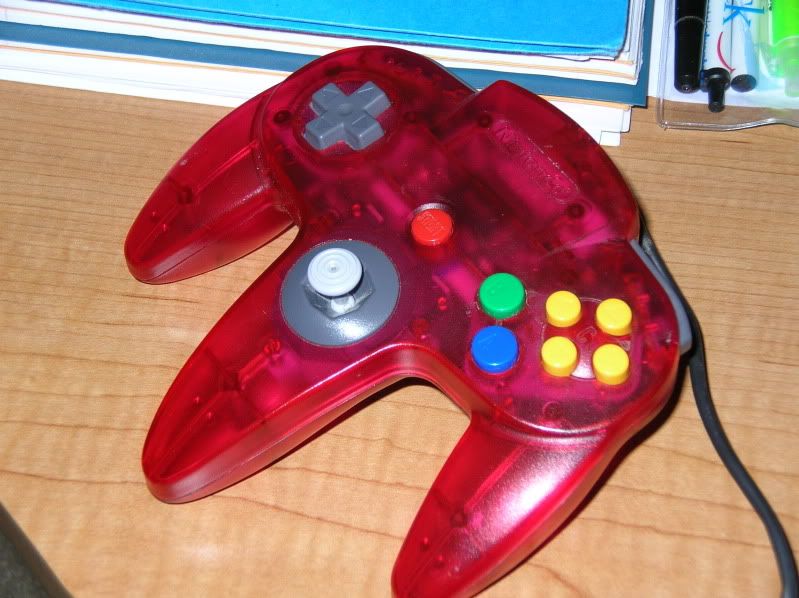
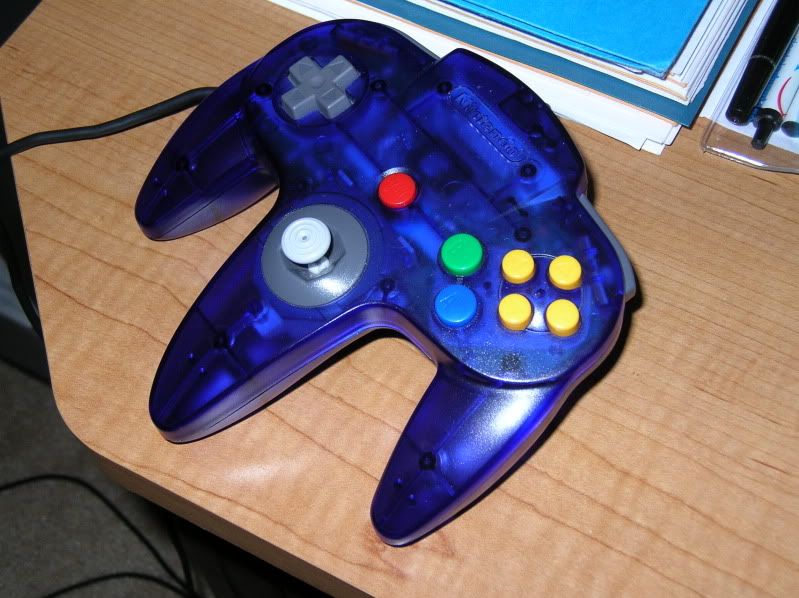
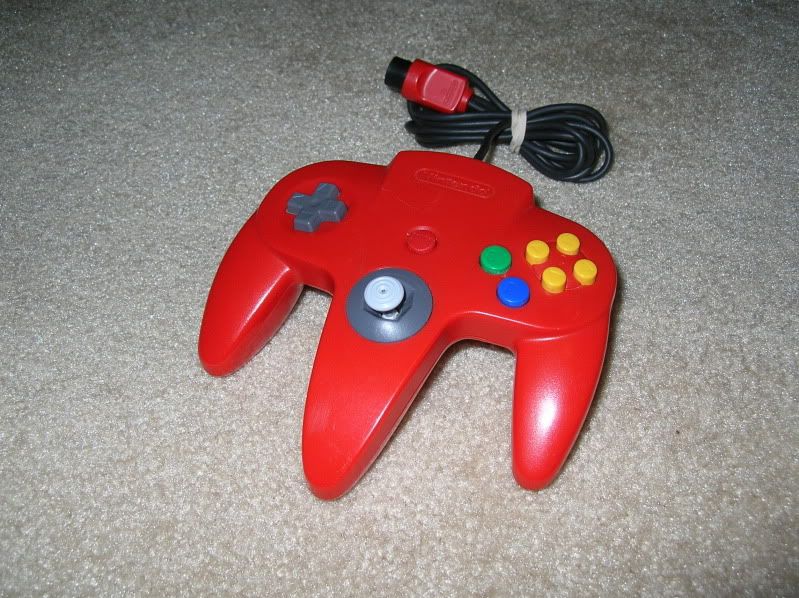
In the mean time here’s a picture of some of my controllers I’ve restored.


Grizzmeister

Smash Lord
Joined
Jun 23, 2009
Messages
1,098
Location
North Carolina
NNID
Grizzster
What method did you use to refurbish them?
I completely tore them down and washed all the plastic parts in scolding hot water with a little bit of antibacterial dish soap in it. Any part that was too worn away I replaced with parts from a standard grey donor controller although I didn’t do that very often. Mostly getting the white chalky stuff out improves the performance considerably but as I said sometimes they’re just too far gone.

I’ve seen some sites on the web that sell replacement analog units so all you have to do is replace the whole thing. It’s just a matter of opening the controller and undoing three screws. The wires that are connected are modular so you just unplug the old and plug in the new. Simple as that.
 

Skrlx

Smash Champion
Joined
Jan 18, 2008
Messages
2,673
oh man i just realized this thing says refubashing instead of refurbishing hahah
 

sharksquail

Smash Ace
Joined
Jan 10, 2009
Messages
515
Location
ATL ITP
I completely tore them down and washed all the plastic parts in scolding hot water with a little bit of antibacterial dish soap in it. Any part that was too worn away I replaced with parts from a standard grey donor controller although I didn’t do that very often. Mostly getting the white chalky stuff out improves the performance considerably but as I said sometimes they’re just too far gone.

I’ve seen some sites on the web that sell replacement analog units so all you have to do is replace the whole thing. It’s just a matter of opening the controller and undoing three screws. The wires that are connected are modular so you just unplug the old and plug in the new. Simple as that.
Ive replaced the thumb stick unit before. What I was wondering was if you had managed fix the X and Y axis pieces.

oh man i just realized this thing says refubashing instead of refurbishing hahah
My Iphone typing skillz are flawless, no jhons.
 

Grizzmeister

Smash Lord
Joined
Jun 23, 2009
Messages
1,098
Location
North Carolina
NNID
Grizzster
Ive replaced the thumb stick unit before. What I was wondering was if you had managed fix the X and Y axis pieces.
I’ve tried everything to repair the little black X and Y axis pieces from the scotch tape to the epoxy method and none have worked long term. I even tried warming the plastic parts with a heat gun to squeeze them back together a little bit but the results were disastrous. Once those pieces are stretched and worn away there’s really nothing left to do but replace them.

I often find the ubiquitous grey N64 controllers at yard sales or flea markets for less than 5 dollars. What I do is cannibalize the parts out of those to restore the much less common colored ones.

As I said before, I’ve repaired or restored dozens of Nintendo 64 controllers (see photo) and if Nintendo just released a kit with the parts that are inside the analog stick compartment I could restore them all. If Nintendo could sell the 5 pieces for under $20 it’d be well worth it to me.

N64 controller restoration project

Here’s a parts list:

1. Analog stick (grey)
2. X axis piece (black)
3. Y axis piece (black)
4. White O ring
5. Spring

Also, here’s a link to a video that shows how to work on the N64 controller. The method described doesn't really work but the video at least shows the parts I'm talking about.

http://www.youtube.com/watch?v=FkAv07lRdhM&feature=related
 
Top Bottom