
Ultomato
Smash Master
Hello there, Ultomato/Triceracop/EpicSandshrew here.
I made this little thread as a place to share concenpts for movesets. This can mean completely new characters, potential echo's, revised movesets for existing characters or "joke"-movesets for non-videogame characters.
In making these, the bare minimum is having all special moves thought out. Off course, it's better to have make well-rounded ideas about movement, tilts, smashattacks and special features.
I have an enormous archive of movesets for characters I was hoping for back in the sm4sh-days I'll be refining and hopefully I'll be able to post a fully fledged Moveset a Day. Feel free to join in or to request characters for me to do. The weirder the better!
Now for some examples:
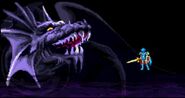
![]()
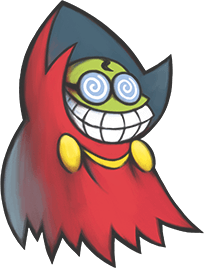
Fawful
Fawful is a rather small and slow character. Think of his body as Pikachu sized. He is a living bean after all. He's not a very stronk boi but he's really clever. That's why het uses his helmet to generate projectiles to keep his enemies at Bay.
![]()
B- Shrinking Vacuüm: the vacuüm on his helmet sucks in opponents, but with a twist. If an opponent is unable to mash out, he'll shrink for a while, poison-mushroom style. During the process, the Enemy can be spotted Inside the glass basin in the helmet, which will cartoonishly grow along with the opponent (ever seen Ridley in a Yoshi egg?).
SideB- Lazer Bolt: Think of this as Wolf-Lazer but slower.
Up-B- Jet booster: the jetpack emerges from his helmet and functions as if he had the Jetpack Item for 2 seconds before forcing hij into special-fall.
Dowb-B- Dark Magic: He'll spread out his hands to Both sides and send a beam of Darkness in Both directions. This won't deal much knockback, but will deal increasing damage the longer the opponent stays in the Beam. This move has a lot of cooldown, so watch out!
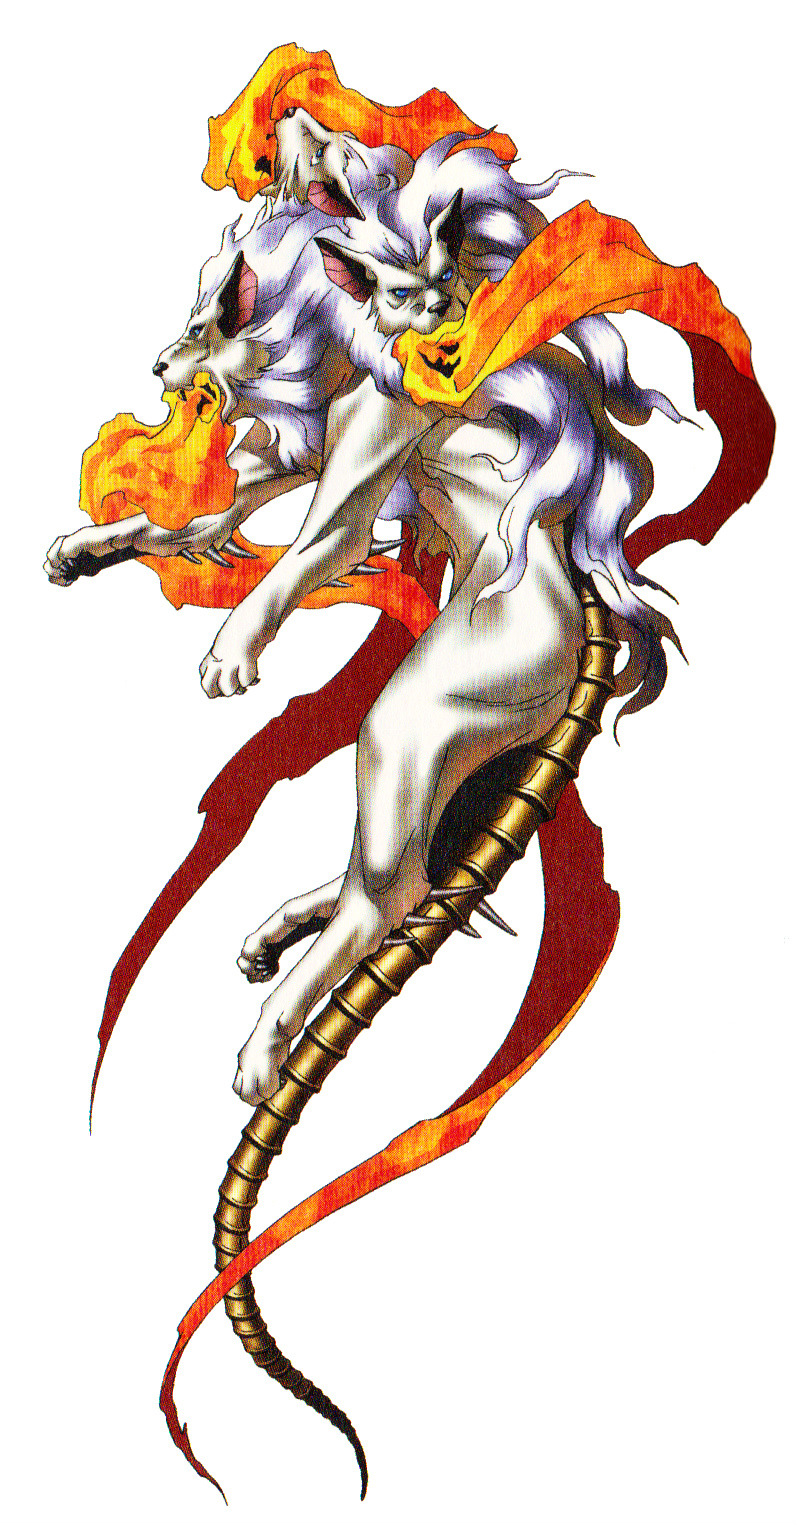
Final Smash- Dark Star: He'll Change into his Dark forme
![]() and submerge into the background. He'll send out his claws to grab people (like the move Master Hand can do) and shoots an energy Beam at the trapped opponents.
and submerge into the background. He'll send out his claws to grab people (like the move Master Hand can do) and shoots an energy Beam at the trapped opponents.
For his Smashattacks, Fatefull borrows attributes from his many mechanical Minions.
F-smash- Mechawful: the hand of a Mechawful
![]() appears from the helmet to punch people.
appears from the helmet to punch people.
Upsmash- Crawful: The mouth of a Crawful
![]() appears from the helmet and chomps upwards.
appears from the helmet and chomps upwards.
Downsmash- Jetpack-attack: Fatefull crouches during the charge and sends the jetpack-arms outwards without activating them, dealing huge horizontal knockback.
Aerials:
Nair- Airborne Jetpack-attack: For a brief moment, the Arms of the jetpack extend outwards to deal minor damage and knockback. Cannot be used during Jet Booster.
Fair- Shocking: Fawful stretches his (rather small) hand out, which electrifies opponents it touches.
Bair- Chomp: the helmet chomps backwards, dealing massieve damage and knockback.
Up-air- Stretch: the helmet extends upwards a bit, dealing vertical knockback.
Dair- Jet Pulse: the Jetpack Comes out and activates for a second. This deals minor Fire damage below the Jets (so not below fawful himself) and propels him upwards Slightly.
Uptilt- same as his upair
F-tilt- He waves his cape outwards
Downtilt- His jetpack appears and je crouches, hitting downward.
Throws: After he grabs people, he stuffs Them into his helmet and shoots them into the Desiree direction. For example: up is vertical and back/forward are perfectly horizontal.
Taunts:
1.
![]() while screaming "I have Chortles!"
while screaming "I have Chortles!"
2.
![]()
3. A text-balloon appears above him with the words he screams: "I HAVE FURY!"
Victory Screens:
Actually, Just the same as his taunts, these are great.
Alts
![]()
For Grovyle, I decided to make him An echo of Greninja. Although I would love to see him as a seperate character, this Moveset Just works really well.
Attacks: all of his properties and attacks are the same as Greninja. Where het uses Water Blades, Grovyle uses Leaf Blades.
Specials:
Neutral B- Bullet Seed. Same as Ivysaurs, but forward.
SideB- Shadow Sneak (yes, Mystery Dungeon Grovyle uses that)
UpB- Quick Attack, same as Pikachu's but with normal damage instead of Electric.
DownB- Substitute (same as Shadow Sneak, he knows this move).
Final smash- Luminous orb: He throws An orb on the ground the covers the entire screen in Bright light. Enemies near him Will be hit by An unseen Attack dealing great knockback.
Taunts:
1. Grovyle puts a twig in his mouth and crosses his Arms.
2. Grovyle triumphantly holds up a time Gear.
3. Dusknoir pops into the background and the two stare angrily at each other.
Victory Screens:
1. The Screens starts out empty before a Luminous orb goes off and Grovyle appears with his Arms crosses.
2. Grovyle searches his pouch for a Berry and starts eating it.
3. Grovyle jumps into the screen through a time portal.
![]()
It should be noted that every line is spoken. Lets dive right in shall we?
Neutral B- Suddenly, Pineapples: a random ammount of Pineapples appear at random spots within a certain distance around the Guy and Fall down. These spike.
SideB- I like trains: a train appears that runs the Guy across the stage, dealing massive damage and knockback.
UpB- Screw Gravity: the Guy floats upwards.
DownB- Minturtle: A mineturtle appears and the Guy says "Hello Mineturtle!" To which the Mineturtle responds with "Hello!" Before making a flip and Exploding. If someone steps on the turtle while this interaction is going on, it'll explode early, ending the covesration. If the Guy is knocked out of the animation, the Mineturtle Will Stay on screen for a while and stepping on him will still strigger the explosion.
Final Smash- Everybody do the flop!: Essentially Arceus' pokeball move.
F-smash: While charging this, the Guy says: "I am going to punch your face! IN THE FACE!" After which a Giant fist appears. If this kills, a zoom in of the opponents face's face Will occur.
Taunts:
1. If says gullible on the ceiling!
2. Magical Pony flying through the Sky... Shoot it down!
3. The Guy pulls a switch, gets colours and panicks.
Victory Screens:
1. Yes I'm a real man let's go skateboards!
2. Is anybody here a doctor?
3. A car with a lama in it falls from the Sky.
I made this little thread as a place to share concenpts for movesets. This can mean completely new characters, potential echo's, revised movesets for existing characters or "joke"-movesets for non-videogame characters.
In making these, the bare minimum is having all special moves thought out. Off course, it's better to have make well-rounded ideas about movement, tilts, smashattacks and special features.
I have an enormous archive of movesets for characters I was hoping for back in the sm4sh-days I'll be refining and hopefully I'll be able to post a fully fledged Moveset a Day. Feel free to join in or to request characters for me to do. The weirder the better!
Now for some examples:
Fawful
Fawful is a rather small and slow character. Think of his body as Pikachu sized. He is a living bean after all. He's not a very stronk boi but he's really clever. That's why het uses his helmet to generate projectiles to keep his enemies at Bay.

B- Shrinking Vacuüm: the vacuüm on his helmet sucks in opponents, but with a twist. If an opponent is unable to mash out, he'll shrink for a while, poison-mushroom style. During the process, the Enemy can be spotted Inside the glass basin in the helmet, which will cartoonishly grow along with the opponent (ever seen Ridley in a Yoshi egg?).
SideB- Lazer Bolt: Think of this as Wolf-Lazer but slower.
Up-B- Jet booster: the jetpack emerges from his helmet and functions as if he had the Jetpack Item for 2 seconds before forcing hij into special-fall.
Dowb-B- Dark Magic: He'll spread out his hands to Both sides and send a beam of Darkness in Both directions. This won't deal much knockback, but will deal increasing damage the longer the opponent stays in the Beam. This move has a lot of cooldown, so watch out!
Final Smash- Dark Star: He'll Change into his Dark forme

For his Smashattacks, Fatefull borrows attributes from his many mechanical Minions.
F-smash- Mechawful: the hand of a Mechawful

Upsmash- Crawful: The mouth of a Crawful

Downsmash- Jetpack-attack: Fatefull crouches during the charge and sends the jetpack-arms outwards without activating them, dealing huge horizontal knockback.
Aerials:
Nair- Airborne Jetpack-attack: For a brief moment, the Arms of the jetpack extend outwards to deal minor damage and knockback. Cannot be used during Jet Booster.
Fair- Shocking: Fawful stretches his (rather small) hand out, which electrifies opponents it touches.
Bair- Chomp: the helmet chomps backwards, dealing massieve damage and knockback.
Up-air- Stretch: the helmet extends upwards a bit, dealing vertical knockback.
Dair- Jet Pulse: the Jetpack Comes out and activates for a second. This deals minor Fire damage below the Jets (so not below fawful himself) and propels him upwards Slightly.
Uptilt- same as his upair
F-tilt- He waves his cape outwards
Downtilt- His jetpack appears and je crouches, hitting downward.
Throws: After he grabs people, he stuffs Them into his helmet and shoots them into the Desiree direction. For example: up is vertical and back/forward are perfectly horizontal.
Taunts:
1.

2.

3. A text-balloon appears above him with the words he screams: "I HAVE FURY!"
Victory Screens:
Actually, Just the same as his taunts, these are great.
Alts
For Grovyle, I decided to make him An echo of Greninja. Although I would love to see him as a seperate character, this Moveset Just works really well.
Attacks: all of his properties and attacks are the same as Greninja. Where het uses Water Blades, Grovyle uses Leaf Blades.
Specials:
Neutral B- Bullet Seed. Same as Ivysaurs, but forward.
SideB- Shadow Sneak (yes, Mystery Dungeon Grovyle uses that)
UpB- Quick Attack, same as Pikachu's but with normal damage instead of Electric.
DownB- Substitute (same as Shadow Sneak, he knows this move).
Final smash- Luminous orb: He throws An orb on the ground the covers the entire screen in Bright light. Enemies near him Will be hit by An unseen Attack dealing great knockback.
Taunts:
1. Grovyle puts a twig in his mouth and crosses his Arms.
2. Grovyle triumphantly holds up a time Gear.
3. Dusknoir pops into the background and the two stare angrily at each other.
Victory Screens:
1. The Screens starts out empty before a Luminous orb goes off and Grovyle appears with his Arms crosses.
2. Grovyle searches his pouch for a Berry and starts eating it.
3. Grovyle jumps into the screen through a time portal.
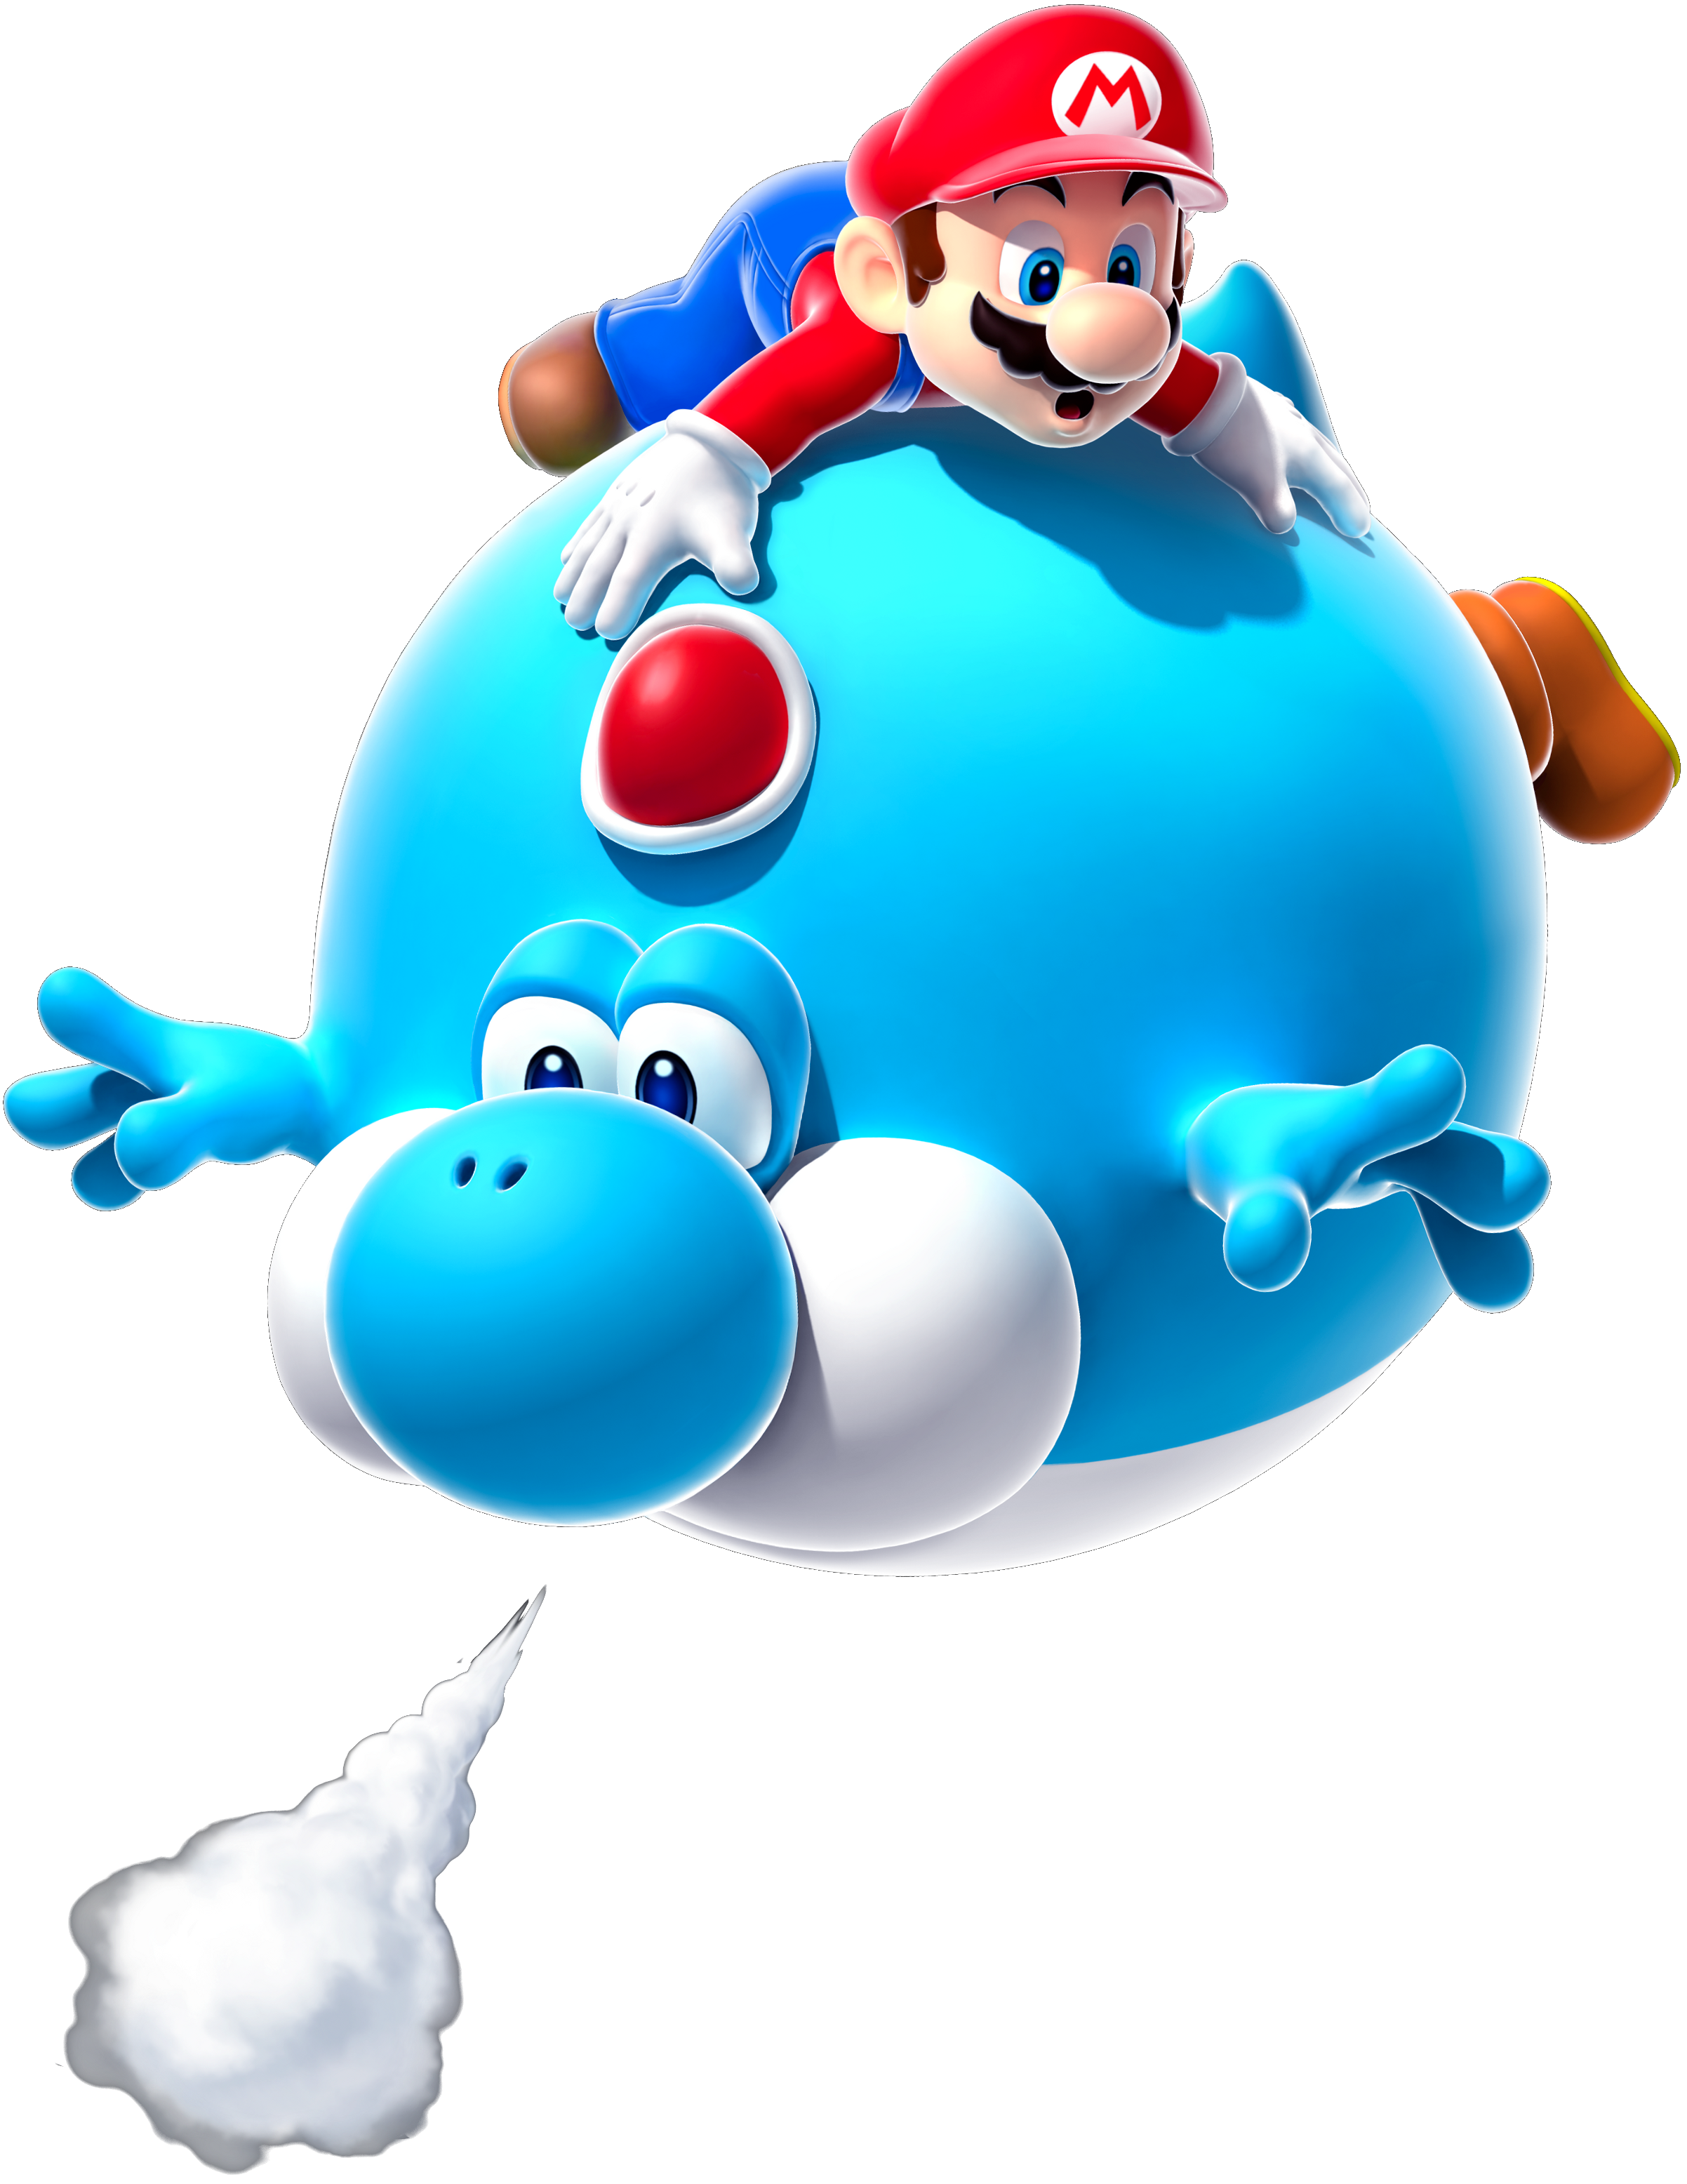
For Yoshi, I always wondered why the fruits from Mario Galaxy 2 are never used. There are two moves that I'd Change using this mechanic.
UpB- Blimp Fruit
![]() speaks for itself.
speaks for itself.
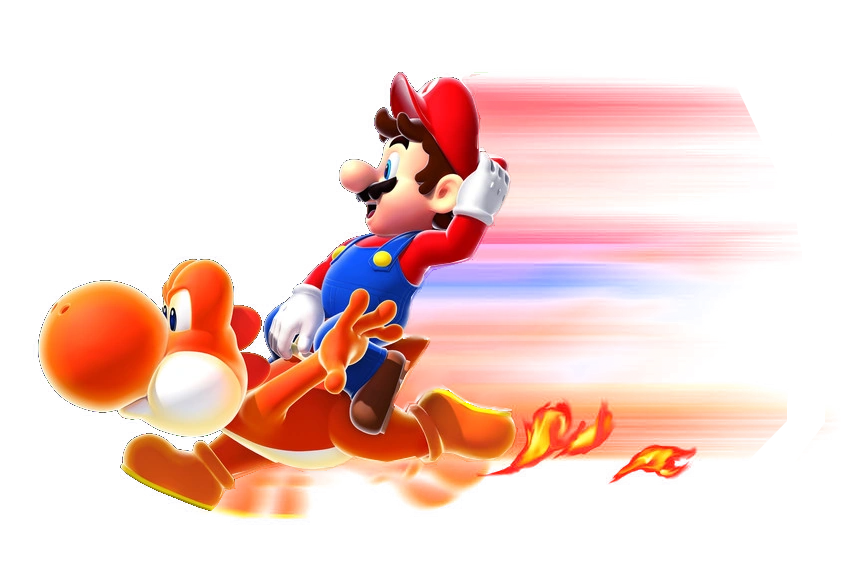
DownB- Dash Pepper
![]() Yoshi eats a Dash Pepper, making him insanely fast for 2 seconds. While running in this state, het leaves a trail of Fire that hurts people.
Yoshi eats a Dash Pepper, making him insanely fast for 2 seconds. While running in this state, het leaves a trail of Fire that hurts people.
UpB- Blimp Fruit
DownB- Dash Pepper

It should be noted that every line is spoken. Lets dive right in shall we?
Neutral B- Suddenly, Pineapples: a random ammount of Pineapples appear at random spots within a certain distance around the Guy and Fall down. These spike.
SideB- I like trains: a train appears that runs the Guy across the stage, dealing massive damage and knockback.
UpB- Screw Gravity: the Guy floats upwards.
DownB- Minturtle: A mineturtle appears and the Guy says "Hello Mineturtle!" To which the Mineturtle responds with "Hello!" Before making a flip and Exploding. If someone steps on the turtle while this interaction is going on, it'll explode early, ending the covesration. If the Guy is knocked out of the animation, the Mineturtle Will Stay on screen for a while and stepping on him will still strigger the explosion.
Final Smash- Everybody do the flop!: Essentially Arceus' pokeball move.
F-smash: While charging this, the Guy says: "I am going to punch your face! IN THE FACE!" After which a Giant fist appears. If this kills, a zoom in of the opponents face's face Will occur.
Taunts:
1. If says gullible on the ceiling!
2. Magical Pony flying through the Sky... Shoot it down!
3. The Guy pulls a switch, gets colours and panicks.
Victory Screens:
1. Yes I'm a real man let's go skateboards!
2. Is anybody here a doctor?
3. A car with a lama in it falls from the Sky.
Last edited:


 is my smash main, for the next possible smash game, Bowser could receive a bit of buffs
 is my most wanted Pokémon in this game, and I came up with an interesting move set