
Overmaster
Hibiki for Smash 4 DLC!

FAQ:
Q: How did you do this?
A: A wire has been soldered to every control point on the 3DS motherboard, and then each of those wires have been run out through the strapholder. For example, the blue tape on the wires signals what it is attached to. (A, B, X, Y, circlepad axis, etc.) Then each wire was soldered into a circuit board that corresponds to the GameCube controller's buttons. Then, an open-source program loaded onto the Aurdino unit makes the magic happen.
Q: How did you figure this all out?
A: I didn't. All credit for the program and instructions go to DekuNukem, found here. He also sold me the circuit board and parts required for the project.
Q: How long did this take?
A: About two long, and torturous weeks. It was a very stressful project-- for example, we couldn't get the top screen to work in two separates tries and fully re-assembled the 3DS about three times. Many ribbon cables inside the unit are now taped down in order to function!
Q: How much did it cost?
A: The circuit board plus shipping came to about $100, so it wasn't exactly free. My dad also insisted on a beer for his work in soldering the wires and helping my thinking process by offering his (often wrong!) opinion.
")
Q: C-stick?! Z-button?!
A: Yes. All the buttons on the GameCube controller work, even though I could not demo them all. (I only had one hand to use the controller!) The C-stick works as a macro because the 3DS does not have a control point for it (Essentially making the input Circlepad left + A) and the Z-button is just another way of pressing L.
Q: Is there any input lag?
A: Nope. The system works in under a millisecond, which is completely unnoticeable. It feels like it's meant to be!
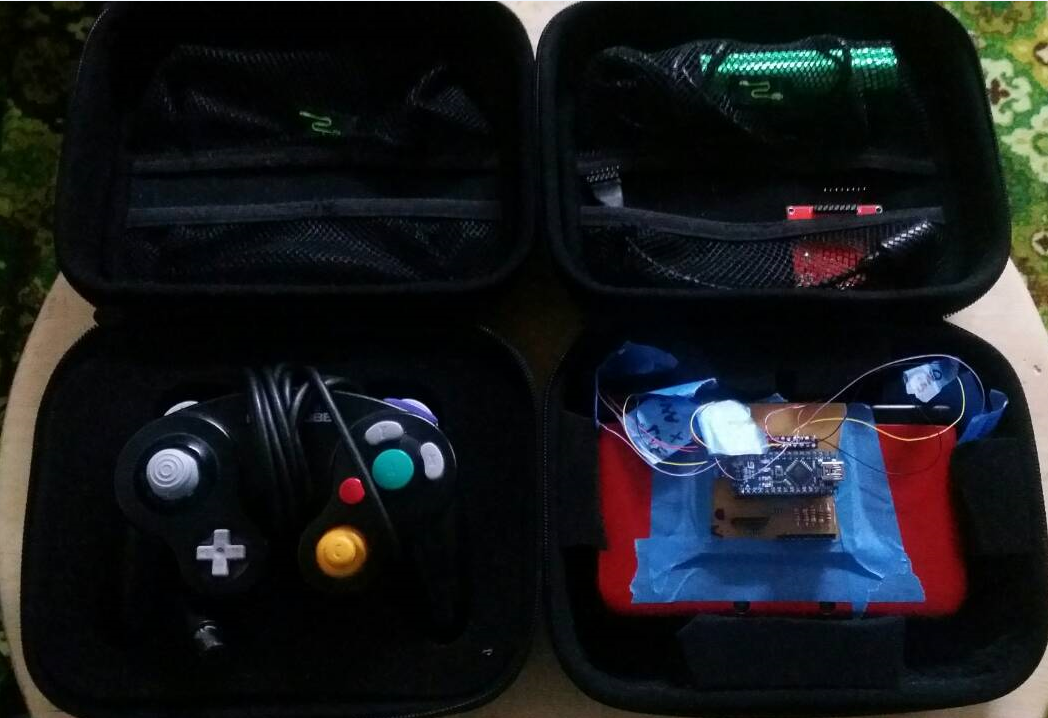
Q: It's portable...?
A: I guess so. I've modified a case to hold the wired 3DS, taped the circuit board onto the back of the clamshell, and purchased a PowerSeed to power the Arduino while I'm on the go. In addition, the Gamecube controller and LCD screen can be unplugged. It's no longer the fit-in-your-back-pocket 3DS it was, but a GameCube controller never was, was it? With it's case, it can be carried around nicely or put into your backpack.
Another neat thing is that the circuit board has two states! You can switch from Gamecube analog controls back to full 3DS controls. By doing this, you can make the device function like a regular 3DS again, albeit with a circuit board and wires on the back.
Disclaimer:
I am not very good at Smash Bros, but I'm trying to get better! Sorry for the lousy video quality! I just really wanted to share it even though I am not really equipped for making videos!
Last edited: